
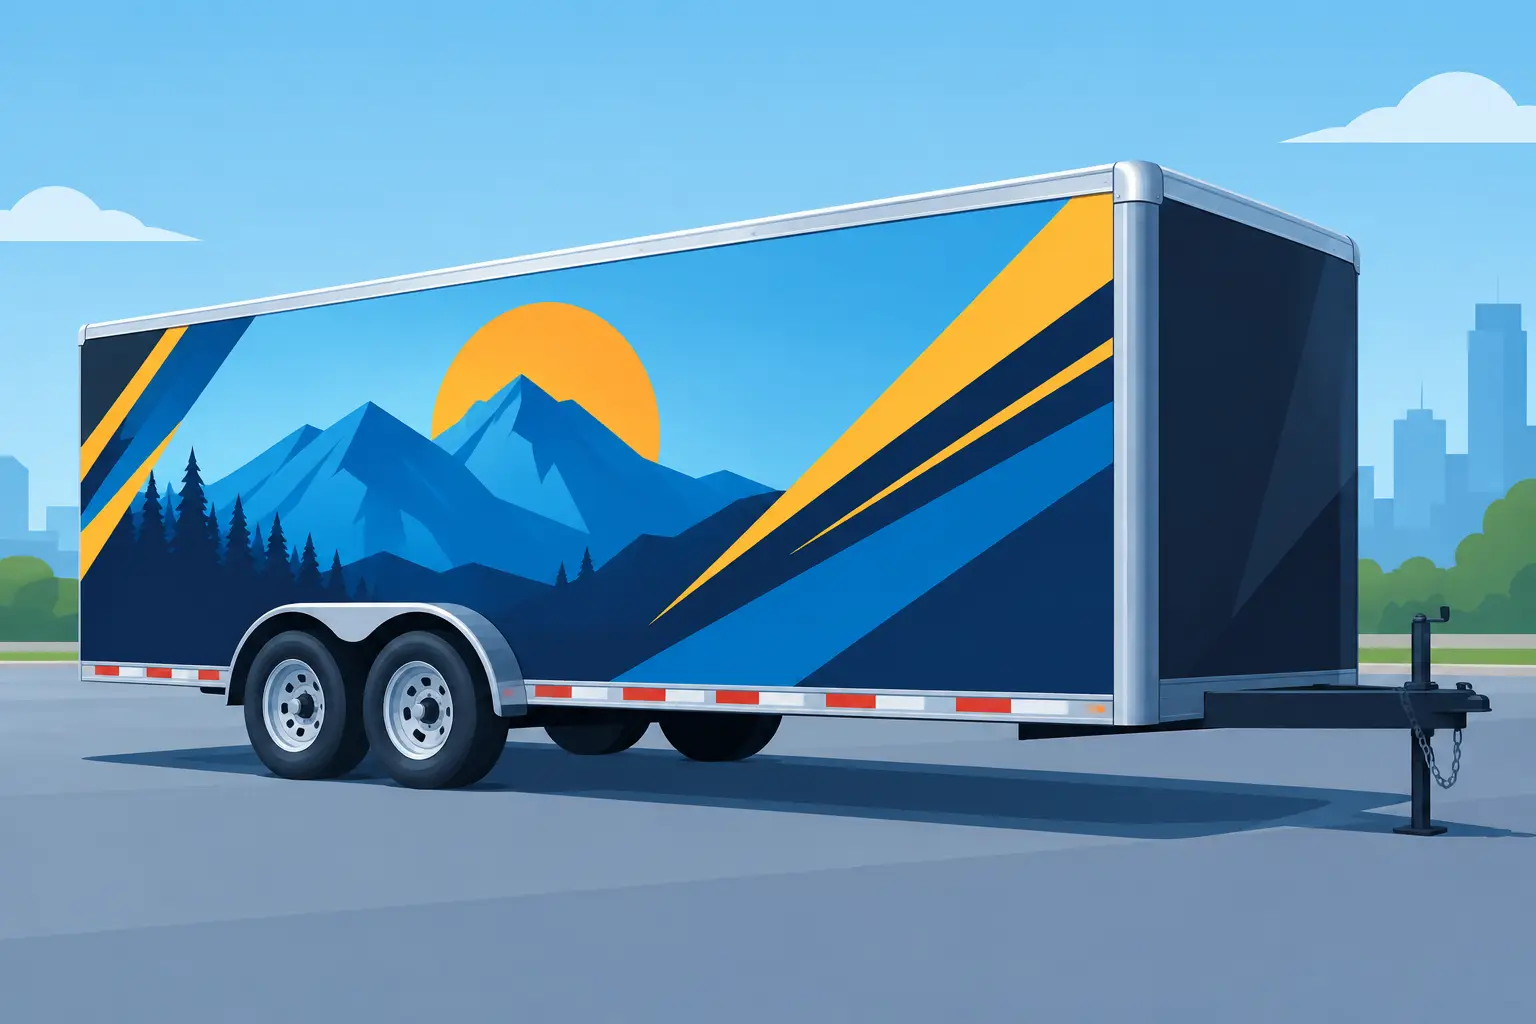
A parked trailer can be missed. A trailer moving through town, sitting at a jobsite, backing into a marina, or lined up at the track gets seen again and again. Well-planned trailer graphics turn that visibility into something useful: a business name people remember, a race team identity, clear service information, or a custom look that belongs to the rig.
The best designs are not necessarily the busiest. They are readable at a glance, sized for the trailer’s actual panels, and made from vinyl built to handle sun, rain, road grit, fuel stops, and regular washing. Whether you are lettering one enclosed trailer or organizing graphics for a working fleet, the goal is the same: make every square foot earn its place.
Start With What the Trailer Needs to Do
Trailer graphics can be built for branding, identification, compliance, decoration, or a mix of all four. A landscaping company may need its name, phone number, services, and service area visible from the road. A race trailer may need car numbers, sponsor decals, team colors, and a bold logo. A boat trailer may need clean identification that matches the boat without competing with registration requirements.
Decide the primary job before choosing a font or color. If the trailer is a rolling billboard, make the company name and main service the visual priority. If it supports a race program, use the logo and number package to make the trailer look connected to the vehicle. If the purpose is simple identification, durable custom lettering may be all that is needed.
Trying to make every message equally large creates a layout that says nothing clearly. Pick one main message, then build the supporting details around it.
Design Trailer Graphics for Real Viewing Distance
A trailer is rarely viewed from two feet away. Most people see it from another lane, across a parking lot, or while walking past it at a jobsite. That changes how lettering and logos should be designed.
Large, high-contrast text beats intricate detail. A bold font with enough spacing between letters remains legible at speed, while thin scripts, tight outlines, and small contact information can disappear. Dark lettering on a light trailer, or light lettering on a dark trailer, usually delivers the fastest read. Bright accent colors can add energy, but they should support the message instead of reducing contrast.
The side panels are generally the strongest space for your business name or logo because they offer broad, uninterrupted visibility. Rear doors are valuable for a phone number, website, service list, or social handle, especially when the trailer spends time in traffic. Front panels can carry a logo or identification, but they are not the main place to put critical information.
Before ordering, step back from a mockup. If the name cannot be read at thumbnail size, it probably will not work from the road. Keep the most important wording large enough to do its job without asking people to squint.
Give Information a Clear Order
A strong commercial layout often follows a simple visual hierarchy: business name first, service or specialty second, contact details third. A contractor’s trailer might lead with the company name, follow with “Roofing” or “Excavation,” then include a phone number. That sequence tells people who you are, what you do, and how to reach you in seconds.
For enthusiasts, the hierarchy can be different. A race team logo, driver name, and number may come first, with sponsors grouped lower on the panel. A custom camping trailer might feature a large family name or destination-themed graphic, then smaller details that reward a closer look.
Choose Vinyl for the Job, Not Just the First Photo
Trailer surfaces take abuse. They flex on rough roads, heat up in direct sunlight, collect grime, and get cleaned with more force than a passenger car. Material choice matters as much as artwork.
Premium outdoor vinyl is the practical choice for most trailer lettering and graphics because it is made to hold color and adhesion outdoors. Cast vinyl is often preferred for long-term graphics, curved areas, rivets, and more demanding applications. Calendared vinyl can be a cost-effective option for shorter-term uses or flatter, simpler surfaces, but it may not be the right fit for a trailer expected to stay branded for years.
Printed trailer graphics give you room for full-color logos, gradients, photos, camouflage patterns, and detailed artwork. Cut vinyl lettering and spot-color decals provide a crisp, durable look for names, numbers, contact information, and simple logos. Neither approach is automatically better. It depends on the design, budget, expected lifespan, and the trailer’s condition.
A weathered, oxidized, peeling, or heavily textured surface can make application difficult and shorten decal life. Clean paint, smooth aluminum, fiberglass, and properly prepared panels give vinyl the best chance to perform. If the trailer needs paint correction or body repair, handle that work before installing graphics.
Measure the Trailer Before You Build the Layout
Do not design from a rough guess. Measure each usable panel, including the height and width of side walls, rear doors, fenders, access doors, vents, rivets, hinges, handles, ladders, and trim. A graphic that looks centered on a blank rectangle may look wrong once it meets the actual hardware.
For enclosed trailers, consider whether the graphic should sit above the wheel well, extend across it, or stay within a clean upper panel. On utility trailers, available space may be limited to fenders, rails, equipment boxes, or a front windscreen. Flatbed and equipment trailers may benefit from focused branding on the tongue box, rear ramp, or removable magnetic signs on the tow vehicle rather than overcrowding the frame.
Take straight-on photos of every panel while measuring. Those photos make it easier to spot obstacles and keep left and right sides consistent. If you use an online design tool, start with the final dimensions rather than scaling up a small decal later. Large lettering needs proportionally more room than most buyers expect.
Make Commercial Trailer Graphics Easy to Act On
A trailer can generate leads, but only if the next step is obvious. A phone number should be large enough to read while stopped nearby. A short website or memorable business name is often easier to retain than a long list of services. If you use a QR code, treat it as an extra, not the primary contact method. People cannot scan a code while driving behind you.
Keep the message focused. “Landscape Design, Hardscapes, Drainage” is more useful than a paragraph about company history. “24-Hour Towing” is more useful than a logo alone for a roadside service operator. The right wording depends on the business, but direct language wins on a moving trailer.
Consistency also matters. Use the same logo colors, font style, and key wording on the trailer, truck doors, yard signs, uniforms, and estimates. Repetition makes a small business look established, even when the operation is lean and local.
Installation Prep Is Where Good Graphics Stay Good
Even premium vinyl needs a clean surface. Wash the trailer first, then remove wax, grease, silicone, and road film with the appropriate surface cleaner. Let the panel dry completely. Avoid applying graphics in extreme cold, extreme heat, rain, or heavy wind, and do not install over loose paint, rust, or old decals that are failing.
For larger graphics, use masking tape to position the layout before removing the backing. Check level lines against the trailer body, not just the ground, since trailers are often parked unevenly. Work slowly from one edge or hinge point, pressing the vinyl down with a squeegee to avoid trapping air.
Complex printed panels, full side graphics, riveted surfaces, and large multi-piece layouts may be worth professional installation. That is not a shortcut or a failure of DIY. It is a practical decision when material cost, alignment, and long-term appearance matter. For straightforward lettering, numbers, and smaller decals, careful preparation makes a clean self-install very achievable.
Build a Look That Can Grow With You
Your first trailer design does not need every service, sponsor, or future expansion built into it. Leave room for change. A business can add a service decal later. A race team can update sponsors by season. A recreational trailer can get a fresh accent graphic without replacing the full layout.
At eDecals.com, custom lettering, printed decals, racing number kits, and vehicle graphics give you ways to build from a simple name-and-number setup to a complete trailer package. Start with the message people need to see first, choose materials that match the work the trailer does, and give the design enough space to be read from where it counts: the road.