
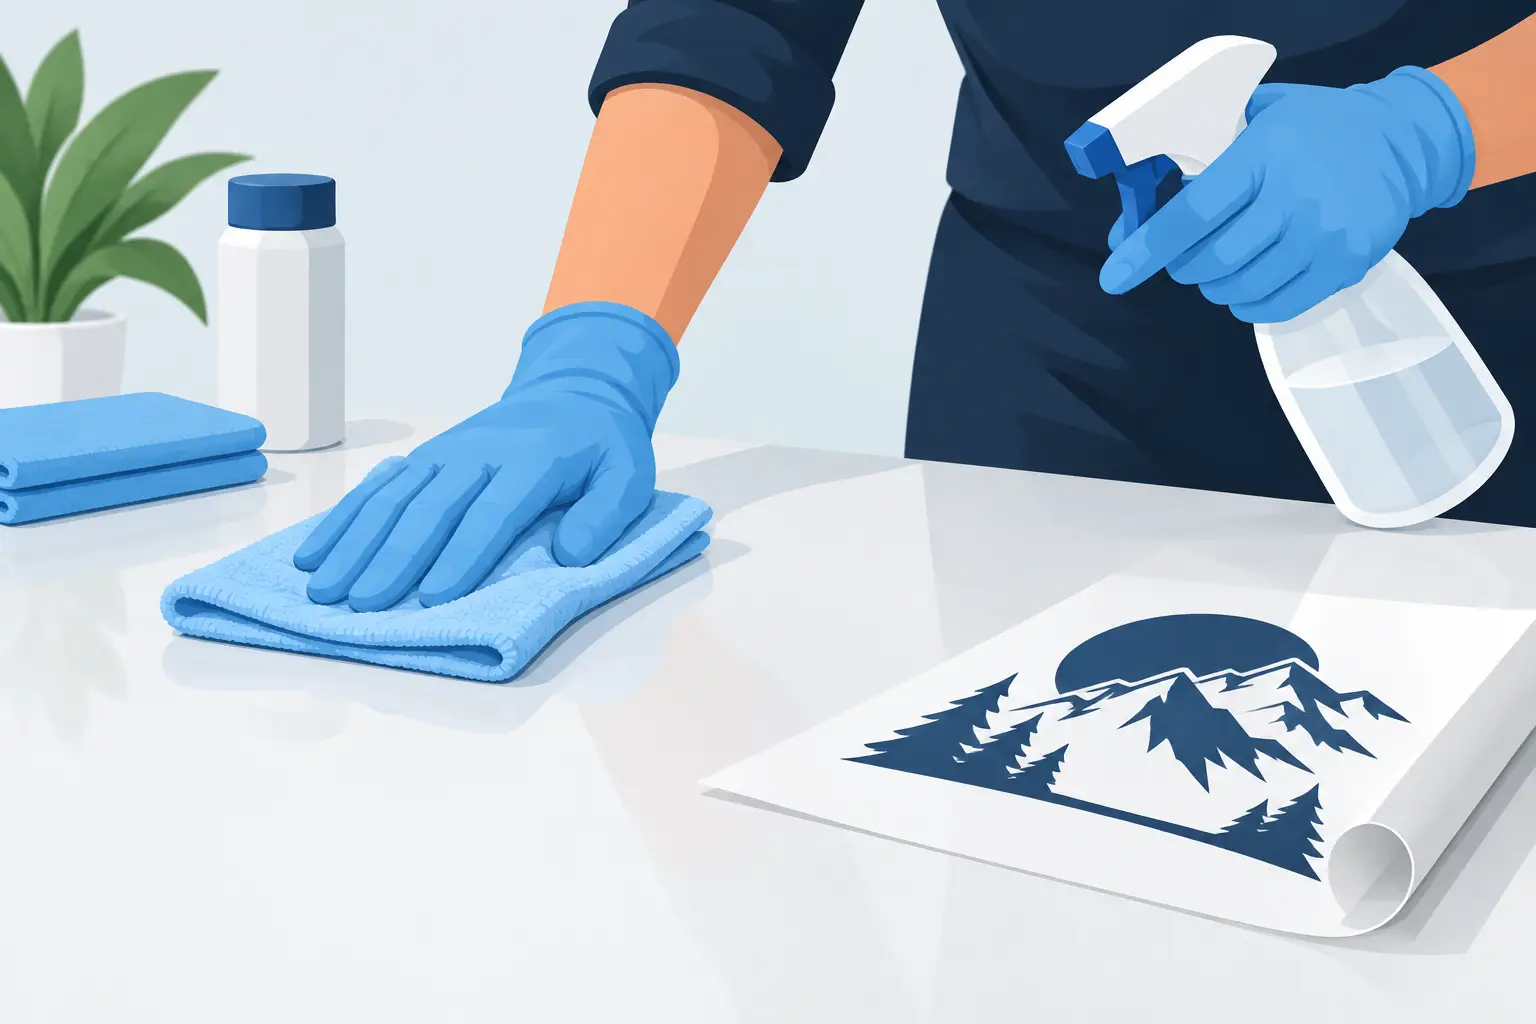
A clean surface before decal application is the difference between lettering that looks factory-sharp and a decal that lifts at the edges after its first wash. Whether you are installing truck door lettering, race numbers, boat registration decals, a windshield banner, or a fleet graphic, the vinyl needs a solid bond with the surface beneath it. Great vinyl cannot compensate for wax, road film, silicone, oxidation, or leftover adhesive.
Prep is not complicated, but it does require the right order. Take a few extra minutes before you position your decal. You will get cleaner alignment, stronger adhesion, and a finish built for real miles, weather, sun, and washdowns.
Why a Clean Surface Before Decal Application Matters
Pressure-sensitive vinyl adhesive is designed to flow into the tiny texture of a painted panel, glass, gelcoat, or other smooth substrate. Contamination creates a barrier between that adhesive and the surface. What appears to be a clean truck door may still have tire dressing overspray, carnauba wax, ceramic coating residue, diesel soot, or invisible fingerprints.
The usual signs of poor prep do not always show up right away. A decal can appear to be installed correctly, then develop silvering, bubbles, corner lift, or peeling after temperature changes and moisture exposure. On boats, salt spray and oxidation make the problem worse. On work trucks, fuel residue, grime, and frequent washing can test every edge.
Surface prep also affects the installation itself. Vinyl positioned on a clean panel releases more predictably from its liner and lays down with fewer trapped particles. That means less time fighting a graphic and a better-looking result when you step back from the vehicle.
Start With the Surface, Not the Decal
Before opening the decal package, inspect the application area under good light. Look for chips, flaking clear coat, rust, heavy oxidation, old decal adhesive, and textured paint. Vinyl adheres best to sound, smooth surfaces. It can cover minor cosmetic flaws, but it cannot repair them.
If the paint is failing, solve that issue first. A decal installed over peeling clear coat will come off with the failed paint, regardless of how carefully you clean it. Likewise, heavily chalked gelcoat needs restoration before lettering goes on. The adhesive needs a stable surface to grip.
New paint deserves special attention. Fresh automotive paint and clear coat can continue releasing solvents as they cure. Follow the paint manufacturer’s cure time before applying graphics. Depending on the paint system and conditions, that may be several weeks. Installing too soon can cause adhesion problems or damage the finish when the decal is eventually removed.
The Right Way to Clean Vehicle Vinyl Areas
A two-stage process works for most painted vehicles, boats, motorcycles, RVs, and glass. First, wash away visible dirt. Then remove the residue a normal wash leaves behind.
Wash off dirt and road film
Use clean water and a mild automotive soap to wash the entire area around the installation zone. Do not clean only the exact decal footprint. Your hands, squeegee, and transfer tape can pull dirt from nearby edges into the work area.
Rinse thoroughly and dry with a clean, lint-free microfiber towel. Avoid household paper towels, shop rags that have seen oil or polish, and anything that can leave fibers behind. If you are working on a boat, rinse away salt residue with fresh water before moving to the final cleaning stage.
Remove wax, grease, and invisible residue
After washing and drying, wipe the application area with isopropyl alcohol and a clean lint-free towel. A 70% or higher isopropyl alcohol solution is a reliable final wipe for many smooth painted, glass, and gelcoat surfaces. Use one towel to apply the cleaner and a separate dry towel to immediately wipe it off.
Work in small sections. The goal is to lift contamination away, not move it around or let the solvent evaporate with residue still on the panel. Change towels as they become dirty. On a large truck door or trailer panel, using one contaminated rag across the whole job defeats the point of cleaning.
For stubborn grease, old polish, or adhesive residue, a dedicated wax-and-grease remover may be needed before the alcohol wipe. Follow the cleaner instructions and test an inconspicuous spot when you are unsure about paint or plastic compatibility.
Avoid these common prep mistakes:
- Window cleaners containing ammonia, fragrance, or additives that can leave a film
- Household cleaners, which may include oils, surfactants, or silicone
- Gasoline, brake cleaner, or harsh solvents that can damage paint and plastics
- Tire shine, interior detail spray, and ceramic-detail products near the application area
- Dirty towels or reused rags that transfer wax back onto the surface
Remove Old Adhesive Completely
Installing new lettering over leftover adhesive is a shortcut that usually becomes visible. You may see texture through the vinyl, weak bonding, or dirt collecting around the edge of the new graphic.
Warm old decal material gently with a heat gun or hair dryer, then peel it slowly at a low angle. Keep the heat moving. Too much heat in one spot can damage paint, distort plastic trim, or soften surrounding material.
Once the old vinyl is off, use an adhesive remover suitable for automotive paint to break down the residue. Wipe it away with a clean towel, then wash and perform your final alcohol wipe. Do not skip that last step. Adhesive removers often leave an oily film of their own.
Dry Means Completely Dry
Water trapped behind trim, body seams, door handles, rivets, or window moldings can work its way onto your decal during installation. That moisture can cause bubbles and reduce initial tack.
After cleaning, give the surface time to air-dry and inspect edges carefully. Blow out seams with clean compressed air if needed. On boats and RVs, pay close attention to molding, hardware, and panel joints where water can hide.
Humidity matters, too. A panel can feel dry while condensation is forming on a cool surface. If you bring a vehicle from a cold garage into warm, humid air, wait until the panel temperature stabilizes. Applying vinyl over condensation is not a reliable installation.
Temperature and Environment Affect Adhesion
Cleanliness is only one part of the prep. Most vinyl decals apply best in a controlled, moderate temperature range. A clean surface that is too cold can prevent the adhesive from making full contact. A hot panel in direct sun can make placement difficult and may stretch the vinyl as you work.
Whenever possible, install indoors or in shade on a calm day. Keep the panel, decal, and work area at a comfortable temperature. If an outdoor install is your only option, avoid wind, direct midday sun, rain, and dusty conditions.
For simple cut lettering, a dry application on a clean, dry panel is often the best method. Larger graphics may require a specific installation method based on the material, design, and surface. Follow the instructions supplied with your decal rather than adding application fluid out of habit. Fluid can slow bonding and is not appropriate for every vinyl type or project.
Surface-Specific Prep Tips
Painted metal is the most common decal surface and is generally straightforward: wash, dry, final-wipe with alcohol, and confirm the paint is fully cured. Glossy painted panels offer the strongest, cleanest bond when they are in good condition.
Glass needs a thorough cleaning because it often carries water-repellent treatments, smoker film, and cleaner residue. Clean first, then use a final alcohol wipe. Keep fingerprints off the area once it is prepped, especially when installing windshield banners or rear-window lettering.
Boats require extra attention to oxidation and wax. Gelcoat is frequently polished and protected, which is great for shine but bad for adhesion. Remove oxidation, strip wax in the decal area, rinse well, dry fully, and finish with alcohol. Registration numbers deserve the same prep as a large boat name because they face the same water, sun, and dock contact.
Plastic surfaces vary. Smooth, painted plastics can accept decals well after proper cleaning. Low-energy plastics, textured trim, and flexible plastics are less predictable. Test a small, hidden area if possible, and do not expect standard vinyl to bond permanently to every rough plastic surface.
Final Check Before You Apply
Right before installation, run your clean hand lightly over the area. It should feel smooth, dry, and free of slickness. Look across the panel at an angle to catch lint, haze, or missed residue. Then mark your placement with low-tack masking tape or use a measured reference point.
Once the final alcohol wipe is complete, avoid touching the application area. Skin oils are minor, but on small lettering and narrow strokes, even minor contamination can matter. Handle the decal by its edges and keep the transfer tape clean.
Your custom graphics are built to stand out. Give them the surface they deserve, take the time to prep it right, and your finished decal will look like it belongs there from the first mile onward.