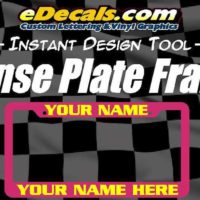
Easy Designer Instructions:
|
| 1. Select The Size
Enter the overal size you want the decal. The thin gray line in the designer represents the size measurement. The finished decal will be approximately the size listed. Be sure your finished design goes to the edges of the thin gray box. Adjust the size accordingly. |
| 2. Enter Your Text
Click on the top example text line, then change the text to your wording using the text entry box. Repeat the process for each line. To add a new line click on an area away from the lines of text then enter the text in the text box and hit 'add text line'. To delete a line of text hit the small red square at the top left corner of the line of text, or hit reset on the bottom left to start the entire designer again. |
| 3. Choose A Font/Typestyle
Pick a style of writing using the drop down menu provided to instantly see your text in that style. View All Available Fonts |
| 4. Choose A Color
Pick a color from the drop down menu provided. We offer 44+ colors including speciality colors. Specialty colors are higher cost options as shown. See All Available Color Choices |
| 5. Choose An Effect - Optional
For added customizing you can choose a shadow, shadow outline or outline. See Optional Lettering Effects |
| 6. Enter Your Email Address
In order to save your design, we email you a copy before we make it. This ensures you get exactly what you paid for. PLEASE NOTE: We do not sell, rent or trade any personal information. Privacy |
| 7. Comments - Optional
Optional comment box allows you to enter any special requests you may have. |
| 8. Quantity of Decals
Enter a quantity in the box provided. We offer great bulk discounts. See discounts. Discounts calculated after added to cart |


