
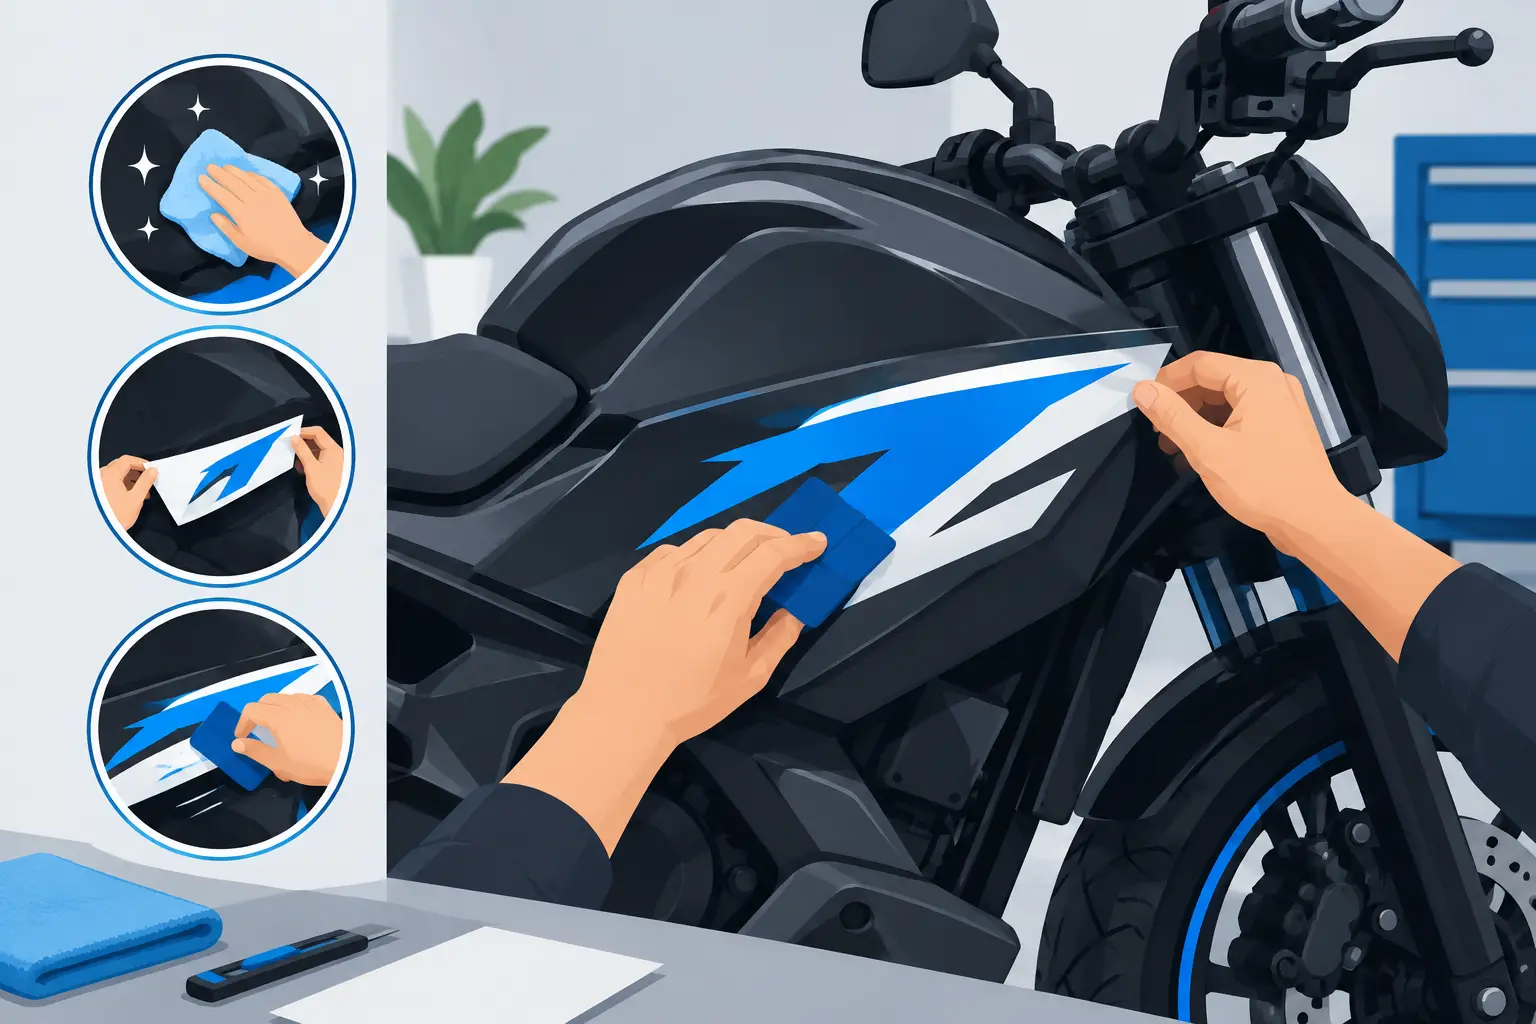
A new decal can sharpen the look of a race bike, make a cruiser feel personal, or put your business name where people can see it. But even premium vinyl will not look right if it goes onto a dirty tank, gets stretched around a curve, or is pressed down before the alignment is checked. To apply motorcycle decals cleanly, slow down at the prep stage and use the right installation method for the size and shape of the graphic.
Motorcycle surfaces are less forgiving than a flat truck door. Tanks curve, fairings have compound angles, and small panels often leave little room for repositioning. A few minutes spent measuring and cleaning will make the difference between a graphic that looks professionally installed and one that needs to be replaced.
What You Need Before You Start
Have your tools ready before you peel the backing paper. You will need a clean microfiber towel, rubbing alcohol or a surface cleaner that leaves no residue, masking tape, a flexible squeegee or vinyl application tool, and a tape measure or ruler. A heat gun or hair dryer is useful for gentle work around contours, but it is not a shortcut for poor placement.
Install in a clean, dry area that is out of direct sun and protected from wind. Moderate temperatures are best. Cold vinyl can be stiff and reluctant to bond, while hot panels and direct sunlight can make the adhesive grab too quickly. If the motorcycle has just been ridden, let the surface cool completely.
For larger graphics with transfer tape, keep a pin or air-release tool nearby for the rare small bubble. Do not use a knife on the decal surface. A cut that seems minor can become a lifting edge after rain, washing, or highway wind.
Prepare the Motorcycle Surface First
Wash the application area to remove dirt, road film, wax, and bug residue. Dry it completely, then wipe the exact decal area with rubbing alcohol using a lint-free towel. The goal is a surface that feels clean and looks clean, especially near fuel caps, panel seams, and edges where grime collects.
Wax, ceramic sprays, detailer residue, and silicone-based cleaners are common reasons decals lift early. A panel can look polished and still have enough residue to interfere with adhesive. If you recently waxed the bike, wash the area again and use alcohol as the final wipe.
Check the condition of the paint or plastic before moving forward. Vinyl should not be applied over peeling clear coat, loose paint, cracked decals, or heavily textured surfaces. A decal follows whatever is underneath it. It will not hide a damaged finish, and removing it later can pull up paint that was already failing.
How to Apply Motorcycle Decals With Accurate Placement
Before removing any backing, hold the decal in place and view it from several angles. On a tank, do not rely only on the body line because motorcycle bodywork is often asymmetrical. Measure from a consistent reference point such as the fuel cap, a panel edge, a bolt, or a badge.
Use small pieces of masking tape to create alignment marks. For paired decals, measure both sides separately rather than assuming the same visual location will produce the same result. Stand back several feet and look at the bike as it will be seen on the road. This is the time to correct a position that looks too high, too far forward, or out of balance with the seat and fairing.
Use the Hinge Method for Most Medium and Large Decals
The hinge method gives you control and prevents the decal from drifting as you install it. Position the decal with the transfer tape still attached, then run a strip of masking tape across the center to create a hinge. Lift one side, peel the backing paper away slowly, and trim or fold the backing out of the way without touching the adhesive.
Starting at the center tape line, use overlapping squeegee strokes to press the decal onto the panel. Work from the center outward with firm, even pressure. Do not press one corner down and pull the vinyl across the surface. Stretching can distort lettering, create tension, and cause the edges to lift later.
Remove the center tape and repeat the process on the other side. Once the decal is fully applied, make another pass with the squeegee, paying close attention to thin letters, sharp points, and the outer edges.
Use Dry Application for Small Decals and Lettering
For most small motorcycle decals, dry application is the best choice. It gives the adhesive its intended bond immediately and makes it easier to work precise lettering, race numbers, and small logos into position. The key is to start with one edge or a center point and lower the decal gradually as you squeegee.
Wet application can help with some large flat graphics, but it is not right for every vinyl type, every transfer tape, or every motorcycle surface. Water can reduce initial grip and make detailed lettering difficult to transfer. Unless the decal instructions specifically recommend a wet method, keep the surface dry for the most dependable result.
Handle Curves, Recesses, and Tank Contours Carefully
A flat decal can conform to a gentle curve, but it has limits. On a rounded fuel tank or sculpted fairing, apply the center first and work toward the outside edges. Let the vinyl settle into the shape rather than forcing it around the panel in one pull.
Use low, controlled heat only when the material needs help relaxing over a curve. Keep the heat moving and test the vinyl with your hand. It should become more flexible, not hot enough to scorch, shrink, or distort. After warming a curved area, press it firmly with the squeegee or a wrapped fingertip to set the adhesive.
Deep recesses, sharp body lines, and edges exposed to wind require extra attention. Avoid bridging vinyl over a recessed channel. Instead, work it into the channel gradually. If a graphic must wrap around an edge, leave enough material to make a secure wrap, then apply heat lightly and press the edge down firmly.
Remove Transfer Tape Without Pulling Up the Decal
After the decal is fully burnished, peel the transfer tape back slowly at a sharp angle, almost flat against the panel. Do not pull it straight up. If a letter or part of the graphic starts to lift, lay the tape back down, press that area again, and wait a moment before trying again.
For intricate lettering, removing the transfer tape slowly is worth the extra time. Small dots, narrow strokes, and decorative flourishes need full contact with the motorcycle surface before the tape comes away. Once the tape is removed, inspect every edge and press down anything that did not fully bond.
Fix Small Bubbles and Avoid Common Installation Mistakes
A tiny bubble may disappear after a day or two as the adhesive settles, especially in warm conditions. For a stubborn small bubble, use a fine pin to make a nearly invisible opening at the edge of the bubble, then press the trapped air toward it. Use the least invasive fix possible.
Most decal problems come from rushing. Avoid these common mistakes:
- Applying over wax, oily residue, dust, or moisture.
- Installing on a hot panel in direct sunlight or on a cold motorcycle.
- Peeling the backing away all at once on a large graphic.
- Pulling vinyl tight around a curve instead of working it gradually.
- Washing the bike immediately after installation.
Give the adhesive time to build strength before exposing the motorcycle to water, pressure washing, or aggressive cleaning. A good rule is to keep the bike dry for at least 24 to 48 hours, depending on conditions and the decal material. When cleaning afterward, use normal soap and water and avoid directing high-pressure spray at decal edges.
Choose Decals Built for the Way You Ride
The best motorcycle graphic is not just about color or font. Consider where it will be installed, how much sun it will see, whether the panel gets frequent fuel splashes, and whether the bike is used for commuting, shows, racing, or business visibility. Bold race numbers need clean contrast at speed. Custom tank lettering needs a layout that works with the tank shape. Business graphics need readable sizing from a distance.
At eDecals.com, you can build custom lettering and graphics around your exact size, color, and layout requirements before production. That control matters when a few inches can determine whether a decal fits cleanly between a fairing vent and a body line.
Take your time with placement, keep the surface clean, and let the vinyl work with the shape of the bike instead of against it. The finished decal should look like it belongs there from the first ride onward.