
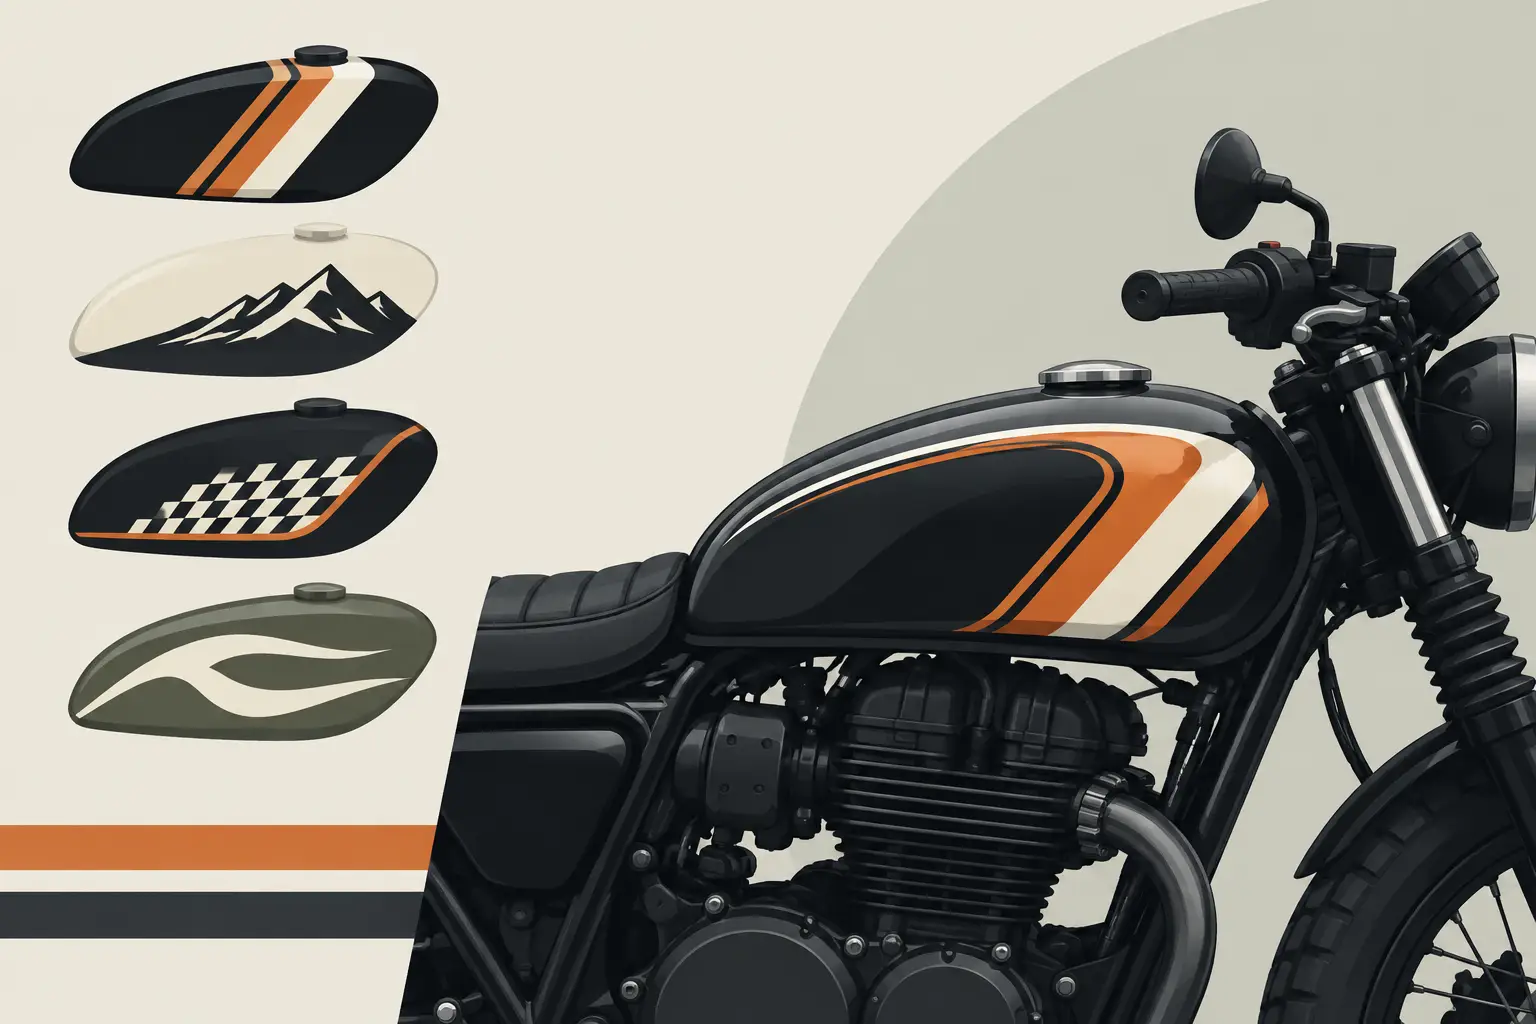
A motorcycle tank is not spare real estate. It is the surface riders see every time they reach for the bars, and it sits at the center of the bike’s profile when it rolls into a meet, a gas station, or the staging area. Custom motorcycle tank decals give that space a purpose, whether you want a clean model callout, a personal logo, a race number, a memorial design, or graphics that finally tie the whole build together.
The right decal should look intentional from every angle and stay that way through fuel stops, weather, washing, and regular riding. That comes down to more than picking a cool font. Tank shape, paint color, vinyl type, graphic size, and installation all affect the finished result.
Start With the Tank, Not the Artwork
A decal can look perfect on a flat screen and still feel wrong once it is placed on a teardrop tank or a narrow sportbike tank. Before designing, measure the usable area on both sides. Watch for knee contact zones, sharp body lines, tank badges, filler necks, vents, and deep curves that can distort a large graphic.
For many motorcycles, the most effective placement is the broadest, flattest section of the tank side. A horizontal name, logo, or stripe usually reads well there. Taller designs can work on tanks with enough vertical height, but they need breathing room from seams and contours. If the graphic is too close to an edge, it can look crowded and may be more likely to lift over time.
Think about viewing distance, too. A small detailed illustration may look great while the bike is parked, but disappear at street distance. Bold lettering, simple shapes, and strong contrast generally make a bigger impact on a moving motorcycle.
Choose a Decal Style That Matches the Build
Custom graphics work best when they support the bike’s existing attitude instead of fighting it. A stripped-down bobber can carry block lettering, vintage script, or a weathered-looking printed design. A sportbike often suits sharp type, numbers, high-contrast color, and compact sponsor-style elements. On a bagger or touring bike, larger flowing graphics and detailed custom names have room to work.
Color choice matters just as much. White, silver, yellow, and bright colors stand out against dark paint. Black, metallic, or dark red graphics can look sharp on light paint, although they may need a contrasting outline to stay visible. If your tank has pearl, flake, candy paint, or a busy factory graphic, keep the decal design simple enough that both elements can be seen.
A border, shadow, or outline can separate lettering from the paint without making it oversized. This is especially useful when the tank color changes under direct sun. The goal is not to use every available effect. It is to build a graphic that remains legible and looks right when the bike is clean, dusty, parked, or in motion.
Lettering, Logos, and Printed Graphics
Vinyl lettering is a strong choice for names, club text, engine callouts, short phrases, and simple logo shapes. Because each letter or element is cut from colored vinyl, it has a clean painted-on appearance with no printed background.
Printed decals are better when your design includes multiple colors, fine artwork, gradients, photos, camouflage, distressed textures, or detailed logos. They give you more creative range, but fine details still need to be large enough to print and read clearly. For a tank graphic, simpler is often stronger.
Pick Vinyl Built for Motorcycle Use
Your motorcycle does not live an easy life. It sees heat, UV exposure, wind, rain, road grime, and occasional contact with gloves, jackets, and knees. Tank decals need outdoor-grade adhesive vinyl made for vehicle graphics, not paper labels or low-cost indoor sticker material.
For flatter tank sections, quality calendared vinyl can be a practical option for straightforward lettering and simple graphics. For compound curves, recessed areas, and designs that need to conform closely to the tank, cast vinyl is generally the better choice. It is thinner, more flexible, and designed for demanding vehicle applications.
Lamination is worth considering for printed tank decals. A clear laminate adds protection against fading, scratches, and routine cleaning. It can also provide a gloss, matte, or other finish that better matches your paint and build style. A matte decal on a high-gloss tank can create a deliberate contrast. On the other hand, matching gloss with gloss often creates a more integrated appearance.
No decal material is invincible. Fuel spills are a real concern around a tank, especially on older bikes or during a rushed fill-up. Wipe spilled fuel away promptly, and avoid letting harsh chemicals sit on decal edges. If you regularly use aggressive cleaners or fuel additives that drip during filling, leave extra clearance around the filler area.
Size It for Impact Without Overloading the Tank
Oversized tank decals can dominate a bike in the wrong way. Too small, and they look like an afterthought. The best size depends on the available panel and the amount of information in the design.
For a single word or rider name, use enough height that it can be read several feet away without stretching it edge to edge. For a logo, preserve its original proportions rather than forcing it into a space it was not designed to fill. A graphic with several pieces of text may need to be simplified, split between the two tank sides, or moved partly to side covers, a fairing, or fenders.
Before committing, create a paper mockup at full size. Cut it out, tape it to the tank, and step back. Sit on the bike. Turn the bars. Look at it from the front and rear three-quarter angles. This quick check catches scale and placement issues before vinyl touches paint.
Prepare the Paint Before Application
Even premium vinyl needs a clean surface to bond correctly. Wash the tank first, then remove wax, grease, road film, polish residue, and silicone with an appropriate surface cleaner. Let the area dry completely before applying the decal.
Fresh paint needs curing time. The exact wait depends on the paint system and shop recommendations, but applying vinyl too soon can interfere with outgassing and adhesion. If the tank was recently repainted, ask the painter when it is ready for graphics rather than guessing.
Apply decals in a clean, dry area with moderate temperatures. Cold vinyl becomes stiff and less cooperative. Excess heat can make it too soft and difficult to control. Avoid windy driveways, direct blazing sunlight, and dusty shop floors where debris can land under the adhesive.
Take Your Time on Curves
Use masking tape to establish a level line and confirm placement before removing the backing. For multi-piece lettering, a hinge method with application tape helps keep every character aligned. Start from the center, use a squeegee with firm overlapping strokes, and work outward to push air away from the graphic.
Curved sections may require gentle heat to help the vinyl conform. Use restraint. Too much heat can stretch the material, distort the graphic, or weaken long-term performance. Work slowly around contours and inspect the edges as you go. If a decal is large, intricate, or intended to wrap around major curves, professional installation can be a smart investment.
Once installed, give the adhesive time to set before aggressive washing or exposing the bike to heavy weather. Follow the product-specific care guidance for the vinyl you choose.
Design for Your Ride, Not Just the Photo
A tank decal should reflect what the bike is used for. A track-day machine may need clean, visible numbers and rider identification. A small business owner may use the tank for a compact logo that supports matching truck, trailer, or helmet graphics. A weekend cruiser might be all about a custom name, military insignia, pinup-inspired artwork, or a meaningful date.
Consistency makes custom work look professional. Repeat a color from the wheels, seat stitching, helmet, or existing striping. Use the same type style across the tank, side covers, and windshield banner if you are adding more than one decal. You do not need every surface covered. A few coordinated elements usually look more deliberate than a collection of unrelated stickers.
eDecals.com makes it easy to build custom lettering and graphics with the fonts, colors, sizes, and effects that fit your motorcycle instead of settling for a generic kit. Start with your tank measurements, keep the design readable, and choose material that can handle real miles. The best tank decal is the one that still looks like it belongs there after the ride is over.