
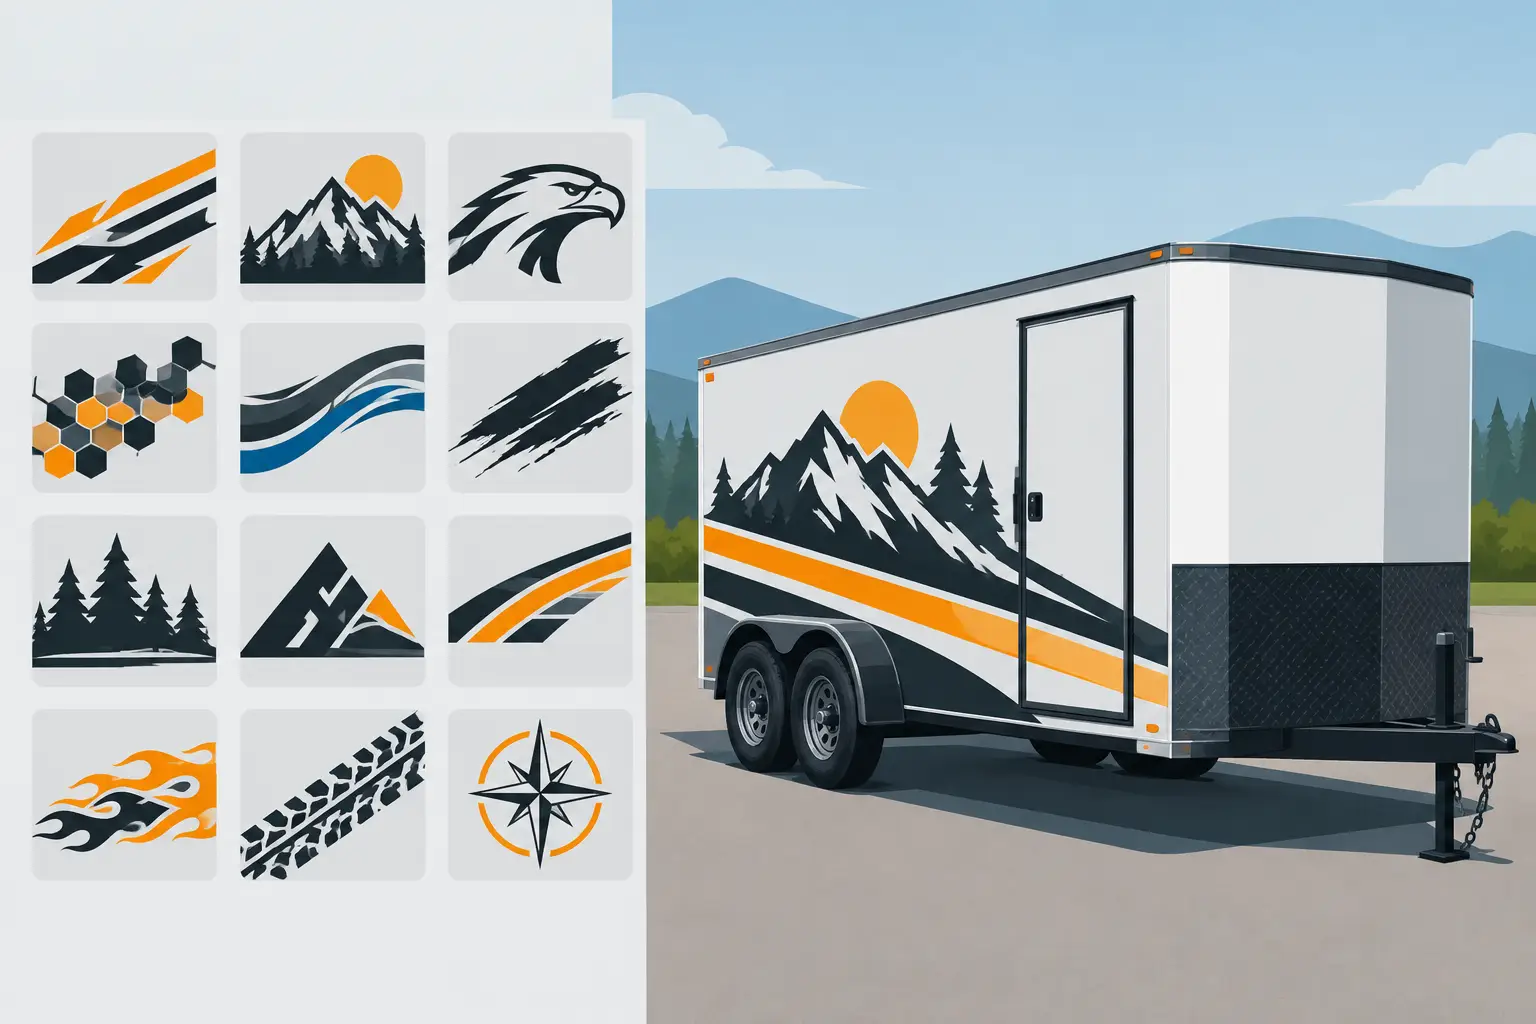
A blank trailer side is valuable real estate. Whether you pull a contractor rig, enclosed race trailer, utility trailer, camper, or equipment hauler, the right trailer decal ideas can make it easier to identify, more professional on the road, and more useful at every stop.
The best design is not always the busiest one. A trailer has long, flat panels that can carry big graphics, but a clean layout usually reads faster from a distance. Start with what the trailer needs to accomplish: advertise a business, support a race team, show ownership, meet required marking rules, or simply look like it belongs behind your truck.
Trailer Decal Ideas for Every Type of Rig
1. Build a contractor trailer around the company name
For service businesses, the company name should be the largest element on the trailer. Put it high on the side panel where it is visible above road grime, wheel wells, and parked vehicles. Add the service category beneath it – roofing, landscaping, electrical, hauling, plumbing, or construction – followed by a phone number or service area.
Keep the hierarchy simple. A driver passing in the opposite lane should understand what you do before they can read every detail. High-contrast vinyl lettering on a solid trailer color does more work than a crowded design full of small copy.
2. Use oversized logo graphics on enclosed trailers
An enclosed trailer gives your logo a large, uninterrupted canvas. This is the right place for a bold logo graphic, especially if your business already uses a recognizable mark on uniforms, trucks, invoices, or jobsite signs.
Place the logo on the forward half of each side so it remains visible when the rear of the trailer is blocked by equipment or parked close to another vehicle. If the logo is detailed, leave breathing room around it. A logo needs clean space to stay recognizable at highway speed.
3. Add a service list that earns its space
A list of services can turn a trailer into a working billboard, but only when it stays selective. Choose three to five core services customers are most likely to need. For example: “Mowing – Mulch – Hardscapes – Snow Removal.” That says more than a long paragraph ever could.
Use a second color or a smaller line of lettering for the service list. It should support the company name, not compete with it. If every line is oversized, nothing stands out.
4. Give a race trailer a number-first identity
Race trailers should make the team easy to spot in a packed pit area. Large race numbers, driver names, class designations, and sponsor marks are practical choices that also bring personality to an enclosed hauler.
Put the race number where it can be seen with the trailer hitched or unhitched. Many teams run a large number on the front, sides, and rear door, then use matching colors across the tow vehicle, trailer, and race vehicle. Consistent number kits and lettering create a professional look without needing a full trailer wrap.
5. Create a clean sponsor panel
Sponsors need visibility, but a random collection of decals can make even a sharp trailer look unfinished. Set aside a defined panel along the lower side, rear door, or upper rail for sponsor logos. Keep each logo scaled consistently and arrange them in clean rows.
This approach works especially well for motorsports, fishing teams, off-road rigs, and event trailers. It also makes future updates easier. When a sponsor changes, you replace one panel decal instead of rebuilding the entire design.
6. Use reflective safety markings with intention
Reflective vinyl is not just for commercial fleets. It can improve nighttime visibility on utility trailers, equipment haulers, car trailers, and enclosed units that spend time on dark roads or job sites. Reflective stripes along lower edges and rear doors can add safety without taking over the design.
Check applicable federal, state, and local requirements before treating reflective markings as compliance graphics. Required placement, size, and material can depend on trailer type and use. For a purely visual upgrade, choose a reflective accent color that complements the main lettering.
7. Make the rear door work harder
Rear doors are often the last thing drivers see in traffic and the first thing customers see when you pull into a driveway. Add a company name, phone number, website-style contact wording if needed, or a straightforward callout such as “Free Estimates” or “Licensed and Insured.”
Avoid putting essential information too low. Bumpers, ramps, dirt, and cargo can block it. Center the main message at eye level and allow clearance for hinges, handles, latches, and ramp hardware before ordering decals.
8. Add equipment identification where crews need it
Fleet trailers and shared equipment trailers benefit from practical ID markings. Unit numbers, trailer names, asset codes, payload reminders, and department labels help crews hook up the correct rig, report maintenance issues, and return equipment to the right location.
These decals do not need to be flashy. Use durable, easy-to-read lettering in the same location across the fleet, such as the front corners and rear doors. Consistency saves time when several similar trailers are parked together.
9. Turn a utility trailer into a personal build
Not every trailer needs to sell a service. A utility trailer used for ATVs, motorcycles, hunting gear, landscaping at home, or weekend projects can carry a custom name, flag-inspired graphic, trail motif, pinstripe, or bold monogram.
The trade-off is permanence. Highly personal artwork can look great, but it may not suit a future buyer if you sell the trailer. If resale matters, use removable-style accent decals or keep the main design to clean lettering that can be changed later.
10. Match a camper or travel trailer to the way you travel
Campers and travel trailers are ideal for names, hometown lettering, mountain silhouettes, lake graphics, pet-themed decals, and family trip designs. These graphics add character without the commitment or cost of repainting.
Choose colors with the trailer’s existing stripe package in mind. A decal that matches an existing accent color will look built in. A totally different palette can work too, but it needs to be deliberate rather than accidental.
11. Use a bold stripe to create motion
Long horizontal stripes make a trailer look lower, longer, and faster. They are especially effective on enclosed car haulers, race trailers, and modern black, white, silver, or charcoal rigs. A stripe can also frame the company name and give smaller lettering a stronger visual foundation.
Measure around doors, vents, rivets, and fenders before finalizing the layout. A stripe that breaks awkwardly around hardware can look like an afterthought. Designed correctly, it ties the entire side panel together.
12. Keep compliance lettering separate from the show graphics
Commercial operators may need USDOT numbers, GVW markings, company identification, or other required information. Treat those details as a dedicated part of the layout instead of squeezing them into the logo area.
Use clear block lettering, strong contrast, and a location that remains readable when the trailer is loaded or connected to the truck. Compliance decals should be functional first. Your brand graphics can still be bold around them, but neither should make the other harder to read.
How to Choose Colors, Size, and Placement
Start with contrast. Dark lettering on a light trailer or light lettering on a dark trailer is the most reliable choice. Chrome, metallic, and specialty finishes can add style, but they may not read as clearly in shade, glare, or poor weather. If the trailer works for a living, prioritize visibility before effects.
Then design for viewing distance. Large side-panel lettering can be read from the road, while smaller details belong closer to doors, ramps, and walk-up areas. A good rule is to make the company name, race number, or primary identity the first thing people see. Everything else should support that message.
Surface condition matters just as much as the artwork. Vinyl adheres best to a clean, smooth, dry surface. Wash away dirt, road film, wax, and oil before installation, and avoid applying decals over deep rust, flaking paint, loose rivets, or damaged areas. A premium decal cannot compensate for a poor surface.
For complex projects, take a few straight-on photos of each trailer side and note the panel dimensions, door breaks, vents, and hardware. That gives you a practical map before selecting sizes and layouts. With eDecals.com, you can build custom lettering and graphics around the actual space you have instead of settling for a generic sticker.
A trailer does not need wall-to-wall graphics to stand out. Pick the message that matters most, give it enough size to be seen, and build the rest of the design around real-world use. The result is a trailer that looks ready to work before the ramp ever drops.