
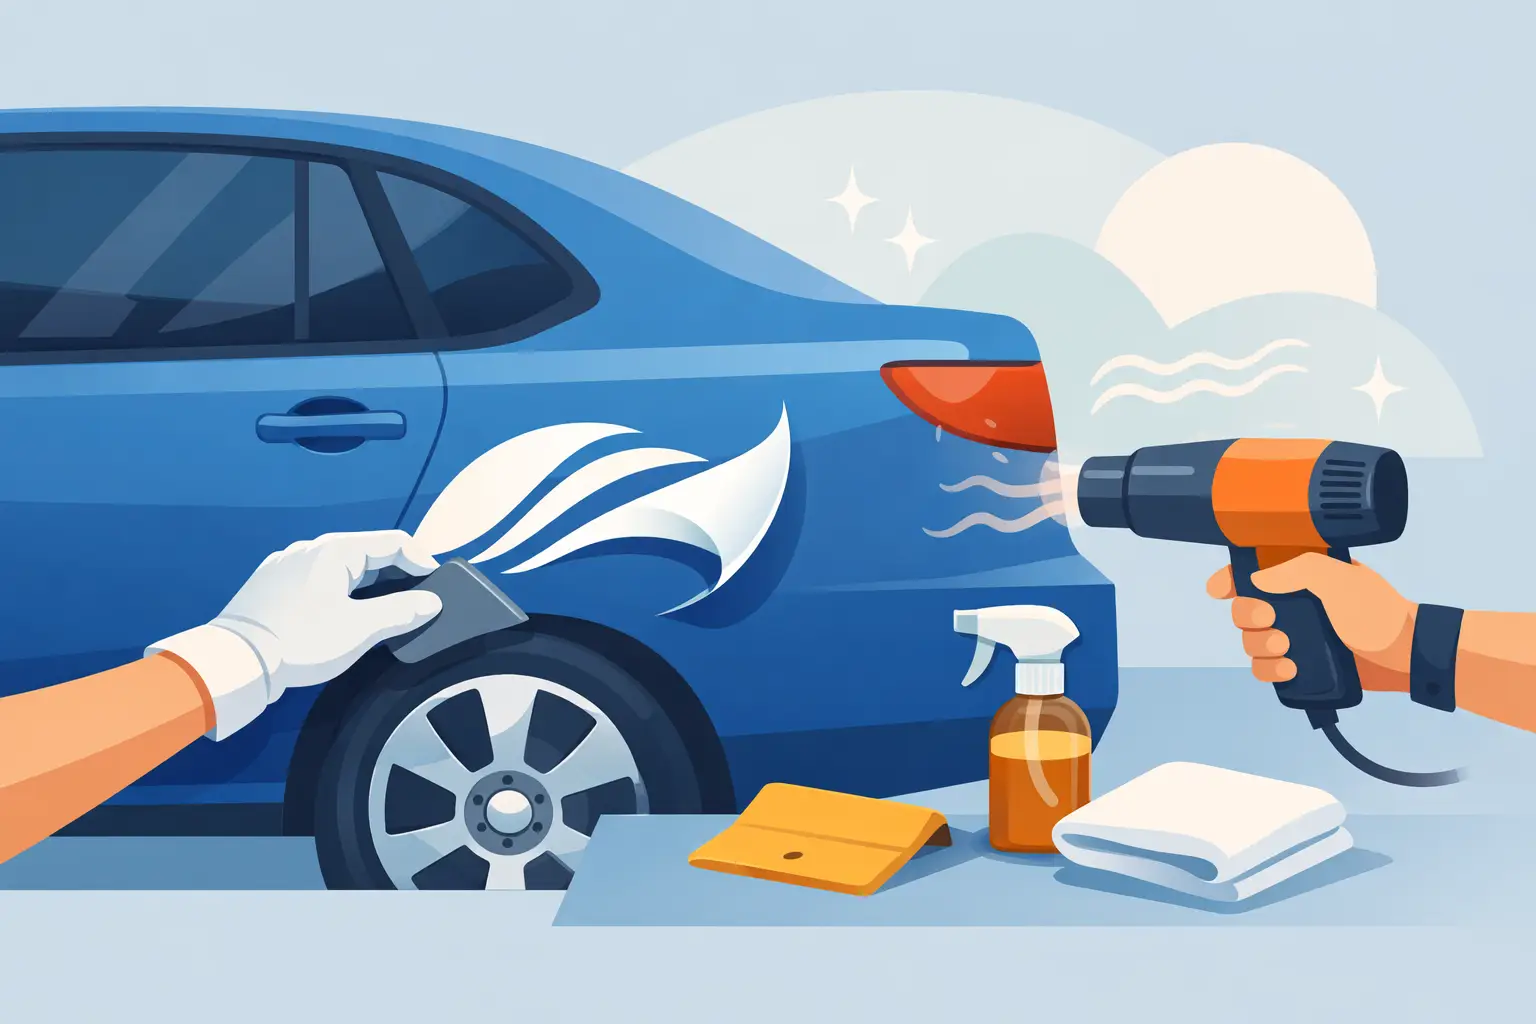
A weathered truck-door logo, an old race number, or boat registration lettering that has seen too many summers can make an otherwise clean surface look neglected. Knowing how to remove vinyl decals correctly lets you clear the old graphic without turning a simple refresh into a paint-repair job. The key is patience, controlled heat, and using the right cleaner for the surface underneath.
Most quality vinyl decals are designed to stay put through rain, sun, road grime, and regular washing. That durability is exactly why rushing the removal process can pull at paint, leave adhesive behind, or scratch glass and gelcoat. Start with a clean surface and work in a shaded area whenever possible.
What You Need Before Removing a Vinyl Decal
You do not need a professional sign shop full of equipment to remove most decals. A few basic supplies will handle the job safely:
- A hair dryer or adjustable heat gun
- A plastic razor blade, plastic scraper, or old plastic card
- Microfiber towels
- Automotive-safe adhesive remover or a citrus-based adhesive cleaner
- Car wash soap and water
For painted vehicles, plastic tools are the smart choice. Metal razor blades can scratch paint, clear coat, fiberglass, and many plastic surfaces in seconds. A metal blade may be appropriate for flat glass only, and only when used carefully with plenty of lubrication.
Before using any adhesive remover, test it in a small hidden area. Factory automotive paint, marine gelcoat, powder-coated metal, painted trailers, and aftermarket paint jobs can react differently. If you are working on a classic car, a recently painted panel, or a vinyl wrap, take extra care. The decal may be easier to replace than the surface is to repair.
How to Remove Vinyl Decals With Heat
Heat softens the vinyl and loosens its adhesive, making it the most dependable method for vehicle graphics, boat lettering, windshield banners, and decorative decals. A household hair dryer is the safest starting point. A heat gun works faster, but it can also overheat paint, warp plastic trim, or damage clear coat if held too close.
Wash the decal and the surrounding area first. Dirt trapped under a scraper can create scratches, especially on dark paint. Dry the area completely, then warm one edge of the decal with the hair dryer. Keep the dryer moving and hold it several inches away from the surface. The goal is warm vinyl, not a hot panel.
After 20 to 40 seconds of heating, try lifting a corner with your fingernail or a plastic razor blade. Once you have an edge, pull the vinyl back slowly at a low angle, almost parallel to the surface. Do not yank straight outward. Pulling low and steady reduces the chance of the vinyl tearing into small pieces or pulling up weakened paint.
Work in small sections. Heat a few inches, peel a few inches, then repeat. This is especially important with older decals that have baked in the sun. If the vinyl becomes brittle, reduce the size of the area you are working on and apply more gentle heat.
Use a Heat Gun Carefully
A heat gun can save time on large commercial lettering, old truck graphics, and heavy vinyl, but it requires more control. Set it to low whenever possible and never park the heat in one spot. If the panel becomes too hot to comfortably touch, stop and let it cool before continuing.
Avoid high heat around plastic headlights, taillights, rubber seals, decals near body molding, and boat surfaces with thin gelcoat. Too much heat can leave permanent marks that adhesive remover cannot fix.
Removing Decals From Paint, Glass, Boats, and Plastic
The basic method stays the same, but the surface changes the tools and level of caution you should use.
Painted Cars, Trucks, Motorcycles, and RVs
Factory paint in good condition usually handles gentle heat and a plastic scraper well. The bigger risk is already failing paint. If clear coat is peeling, paint has been repaired, or rust is forming under the decal, any adhesive can pull loose material when removed.
Do not use gasoline, brake cleaner, lacquer thinner, or aggressive solvents to remove decal adhesive from vehicle paint. They may cut through residue quickly, but they can also stain, soften, or dull the finish. Use an automotive-safe adhesive remover, wipe in small areas, and follow with soap and water.
Glass and Windshields
Glass is generally the easiest surface for decal removal. Heat the decal, peel it away, then use a glass-safe cleaner or adhesive remover for any remaining glue. A new, clean metal razor blade can be used on flat exterior glass at a shallow angle, but never use one on tinted film, plastic windows, or a heated rear-window grid.
For windshield banners and window decals, make sure you are removing the vinyl from the outside of the glass. Interior-applied decals and old tint can require different methods.
Boats and Marine Lettering
Boat registration numbers and transom names take a steady beating from UV exposure, water, and salt. Older marine decals often crack rather than peel, so expect a slower process. Use a hair dryer on low and keep it moving across the gelcoat.
Avoid harsh abrasives on fiberglass and gelcoat. After the adhesive is gone, wash the area thoroughly. You may notice a faint outline where the old lettering protected the surface from sun fade. That is not leftover adhesive. In many cases, a light polish or compound can reduce the contrast, though severe oxidation may need more extensive detailing.
Plastic, Powder-Coated, and Textured Surfaces
Plastic fairings, ATV panels, coolers, equipment cases, and textured truck trim require the lightest touch. High heat can warp plastic, while strong chemicals can discolor it. Start with a hair dryer and use only plastic tools. On textured surfaces, adhesive may settle into small grooves, so let an approved adhesive remover dwell briefly before wiping with a microfiber towel.
How to Remove Leftover Decal Adhesive
Even when vinyl comes off cleanly, a thin layer of adhesive may remain. Do not attack it with a dry scraper. That usually creates smears and makes the cleanup take longer.
Apply a small amount of automotive-safe adhesive remover to a microfiber towel rather than pouring it directly onto the panel. Hold the damp towel against the residue for a minute, then wipe gently. Repeat as needed. For thicker residue, use a plastic scraper after the remover has softened the glue.
Wash the area with soap and water once the adhesive is gone. This removes chemical residue and gives you a clear look at the finish. If the surrounding paint looks dull, a mild polish can restore some gloss. Wax or seal the cleaned area after it is fully dry, especially on vehicles and boats that live outside.
Common Mistakes That Damage the Surface
The most common mistake is using too much heat too quickly. Heat should soften the adhesive, not blister paint or distort trim. Another frequent problem is scraping with metal on paint. A metal edge may feel efficient, but one slip can leave a scratch that is far more noticeable than the decal ever was.
Do not remove decals in freezing temperatures if you can avoid it. Cold vinyl becomes stiff and brittle, and the adhesive is less cooperative. Likewise, avoid working under direct summer sun on a hot black vehicle. The panel can get hot before you even begin, making it harder to control the process.
Be realistic about paint condition, too. A decal does not normally pull off healthy factory paint. But it can expose prior touch-up work, weak clear coat, corrosion, or a panel that was repainted without proper preparation. In that situation, the decal removal did not create the problem – it revealed it.
When It Is Time for Professional Help
Most small decals are a straightforward DIY project. Large fleet graphics, full vehicle wraps, aged reflective vinyl, and graphics covering damaged paint are different jobs. If the decal is heavily cracked, covers several panels, or has been on a commercial truck for years, professional removal may save time and reduce risk.
A sign professional can also help when you are removing old lettering to install new branding, updated USDOT numbers, a fresh boat name, or replacement race graphics. Starting with a clean, properly prepared surface gives new vinyl the best chance to look sharp and hold strong.
Once the old decal is off, do not rush straight into applying the replacement. Let the surface dry completely, inspect it in good light, and make sure every trace of cleaner, wax, and adhesive is gone. A clean panel is the best foundation for graphics that are built to stand out.