
A crooked registration number stands out fast on the water, and not in a good way. If you’re figuring out how to install vinyl boat lettering, the good news is that the job is usually straightforward when you slow down, prep the surface correctly, and apply the graphics in the right order.
Boat lettering is not like putting a casual sticker on a cooler. You’re applying adhesive vinyl to a surface that deals with sun, moisture, salt, spray, and constant temperature swings. A clean install matters because bad prep, trapped moisture, or rushed placement can shorten the life of the lettering and make an otherwise sharp boat look sloppy.
What you need before you start
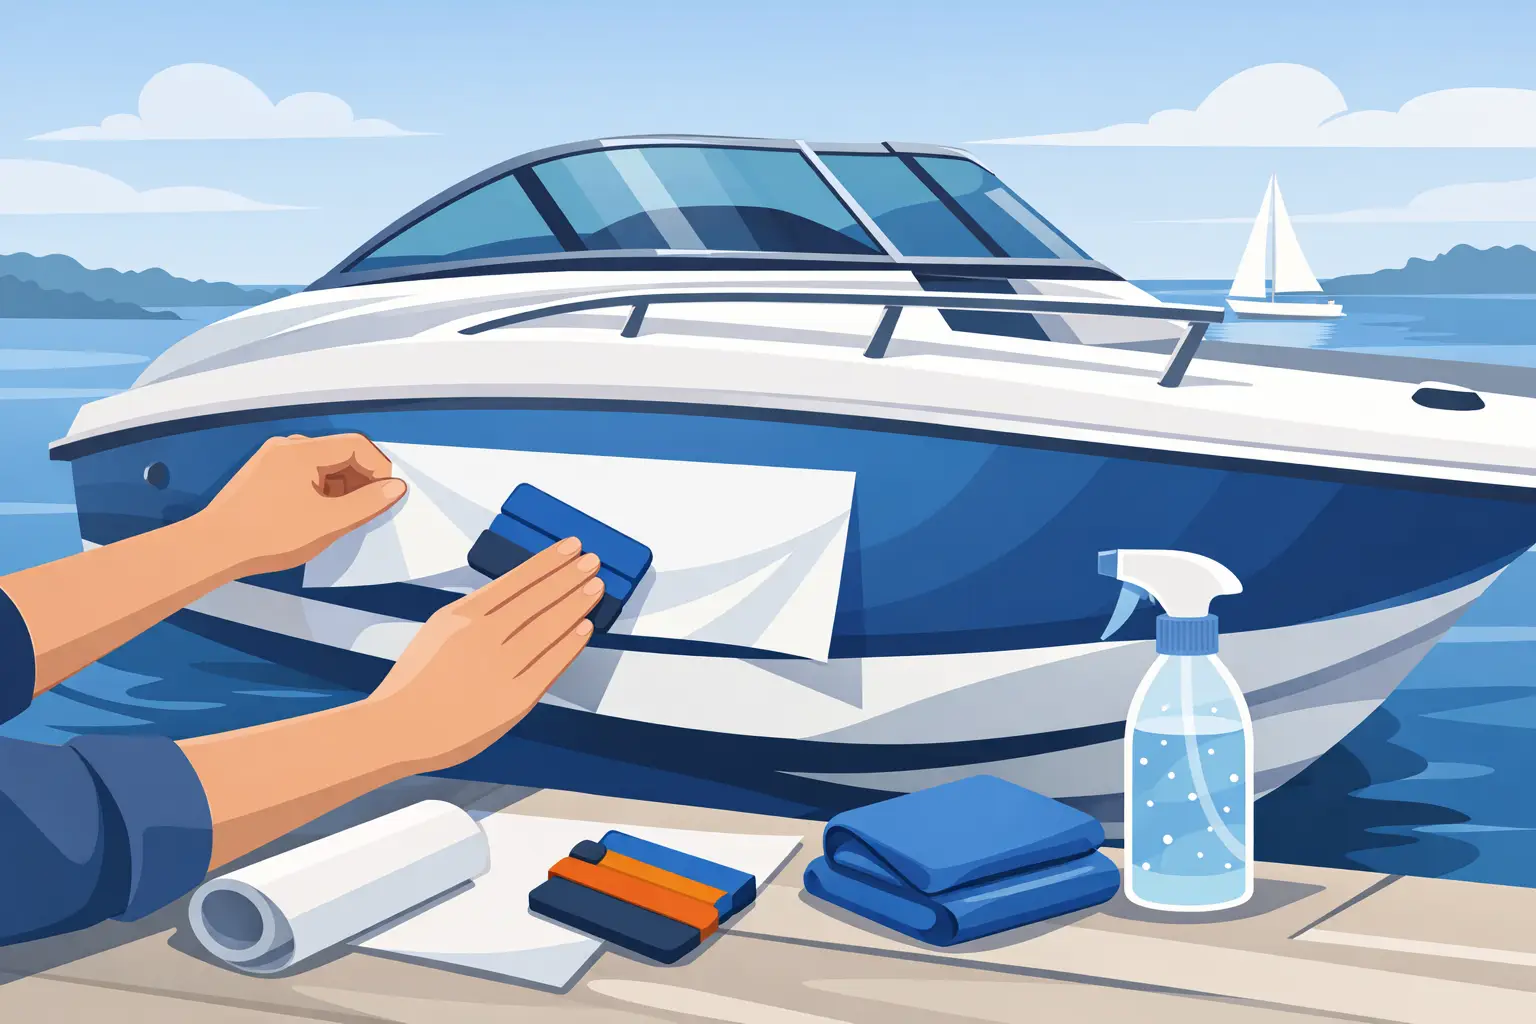
Most installs only require a few basic tools: masking tape, a measuring tape, a squeegee or plastic application tool, a lint-free towel, and a surface cleaner that leaves no residue. If you’re doing a wet install, you’ll also need a spray bottle with the right application fluid or a mild soap-and-water mix used sparingly.
The exact method depends on the size and style of your lettering. Smaller registration numbers and simple names can often go on dry without much drama. Larger graphics, longer boat names, or layouts that need precise alignment may be easier to manage with a hinge method and, in some cases, a light wet application. The trade-off is that wet installs can help with positioning, but they usually require more patience before removing transfer tape.
Surface prep is where good installs start
If the hull surface feels chalky, waxy, greasy, or oxidized, stop there and fix that first. Vinyl adheres to the surface underneath it, not to wax, polish, salt film, or oxidation. A boat can look clean and still have enough residue on it to cause edge lifting later.
Wash the area thoroughly and dry it completely. Then wipe it down with a cleaner appropriate for vinyl application. Avoid household glass cleaners or anything that leaves behind additives. If the boat has recently been waxed, polished, or compounded, make sure those residues are fully removed from the exact install area.
This matters even more on gelcoat. Marine surfaces often hold contaminants longer than vehicle paint, and textured or weathered finishes can make adhesion more difficult. If your hull has heavy oxidation or a rough finish, the lettering may not bond as well as it would on a smooth, stable surface. In that case, restoring the surface before installation usually gives you a better result than trying to force the vinyl onto a bad foundation.
Plan the layout before you peel anything
The fastest way to ruin a clean set of letters is guessing at placement. Measure first. Mark reference points. Step back and look at the boat from several angles before the backing paper comes off.
For registration numbers, follow your state’s spacing and placement requirements. For names and decorative lettering, decide how the design should sit in relation to body lines, rails, cleats, or transom features. What looks centered by tape measure may look off once you factor in curves and visual balance.
A good trick is to tape the lettering in place with the backing still on, then stand back 10 to 15 feet. Check level, spacing, and overall proportion. Boats have compound curves, and a straight line on a flat bench can look slightly different once it’s on the hull. Small adjustments at this stage save a lot of regret later.
How to install vinyl boat lettering with the hinge method
For most boat lettering, the hinge method is the safest and cleanest approach. It gives you control, helps keep alignment locked in, and reduces the chance of the decal grabbing the surface too early.
Start by taping the full decal into position using small pieces of masking tape at the corners. Once you’re happy with placement, run a longer strip of masking tape across the center of the lettering, either vertically or horizontally, depending on the shape of the graphic. This strip becomes your hinge.
Lift one side of the decal away from the boat while it stays attached at the hinge. Peel the backing paper off that half, cutting the backing away if needed. Then lower the transfer-taped lettering back onto the surface slowly.
Use your squeegee from the center outward with firm, overlapping strokes. The goal is to press the vinyl down evenly and push out air as you go. After the first half is applied, remove the remaining backing from the other side and repeat the process.
This method works especially well for boat names, registration numbers, and any lettering that needs to stay level across a visible area.
Dry application vs. wet application
If you’re wondering how to install vinyl boat lettering without bubbles, dry application is often the better choice for standard cast or calendered lettering with transfer tape, especially in moderate temperatures. Dry installs tend to build a stronger bond faster, and the transfer tape usually removes more easily.
Wet application has its place, but it should be used with some judgment. A very light mist can help with larger graphics or when you’re working alone and need a little repositioning time. Too much fluid, though, can reduce initial tack, trap moisture, and make small details shift or fail to bond at the edges.
If you choose the wet method, do not soak the panel. Mist the surface lightly, apply the lettering, squeegee thoroughly from the center outward, and give it extra time before peeling the transfer tape. If the tape lifts the vinyl, stop and wait longer. Pulling too soon is one of the most common mistakes in marine decal installs.
Removing the transfer tape without lifting letters
Once the lettering is applied and squeegeed down, don’t rip the transfer tape off like wrapping paper. Peel it back slowly at a sharp angle, keeping it close to the surface. This puts less upward stress on the vinyl.
If any part of a letter starts to lift, lay the tape back down and squeegee that area again. Then try peeling again more slowly. With wet installs, this is even more important. The adhesive may still be setting, and patience usually solves the problem better than force.
After the tape is off, go back over the lettering with your squeegee or your thumb wrapped in a soft towel, paying close attention to edges and corners. That final pressure helps seat the adhesive where lifting usually starts.
Best conditions for installing boat lettering
Temperature affects adhesive more than most first-time installers expect. If the surface is too cold, the vinyl can get stiff and the adhesive may not bond well. If it’s too hot, the material can become overly soft and harder to control.
A mild, dry day is your friend. Shade is usually better than direct sun, especially on dark hulls that heat up fast. Try to avoid windy conditions, since airborne dust and moving transfer tape can make the job harder than it needs to be.
Humidity and marine moisture matter too. Do not install over dew, dampness, or a surface that was just rinsed and still feels cool and wet. Even if the top looks dry, trapped moisture can affect adhesion.
Common mistakes that cause failure later
Most lettering problems show up for predictable reasons. The first is poor surface prep. The second is rushing placement. The third is trying to install on a surface that is too rough, too cold, too hot, or still contaminated.
Another common issue is stretching the vinyl during application. If you pull on lettering too hard while removing backing or transfer tape, the characters can distort slightly. On a boat, that distortion becomes obvious quickly because names and numbers are usually viewed from a distance and against long straight hull lines.
It also helps to respect cure time. Even if the lettering looks finished, give it time before washing aggressively, polishing around it, or exposing it to heavy spray. If you ordered professionally cut marine lettering through a supplier with solid production standards, including options from eDecals.com, proper installation is what lets that material perform the way it’s supposed to.
Aftercare that keeps it looking sharp
Once the lettering has fully set, maintenance is simple. Wash with mild soap and water, avoid aggressive scraping at the edges, and be careful with harsh solvents or abrasive compounds around the graphic. Pressure washing can be risky if the nozzle is too close or aimed directly at an edge.
If the boat stays outdoors year-round, inspect the lettering now and then for early edge lift, especially around curves and high-contact areas. Catching a loose edge early gives you a better chance of preventing dirt and water from working underneath.
A clean install does more than make the boat look better at the dock. It gives the vinyl its best shot at holding up through sun, spray, and regular use. Measure carefully, prep like it matters, and apply with steady pressure. That’s how you get boat lettering that looks built for the water instead of slapped on at the ramp.