
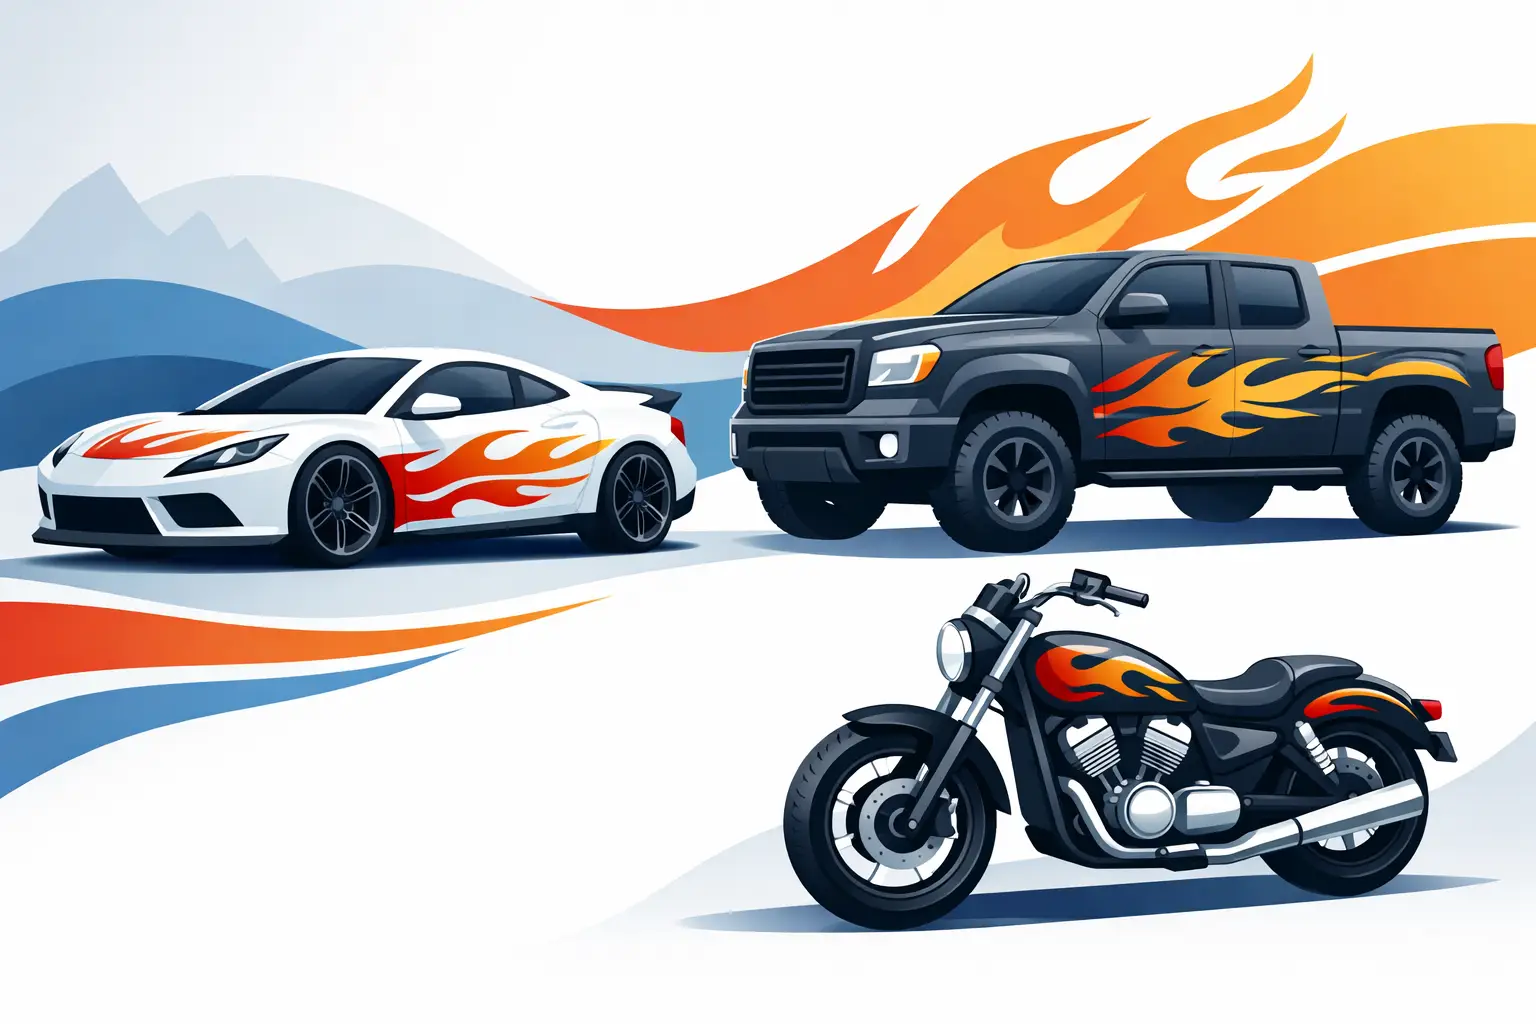
A flame graphic only works when it looks intentional. Too small, and it disappears against a large truck door or motorcycle tank. Too large, and it can crowd body lines, handles, race numbers, or existing lettering. A custom flame decal kit gives you control over the scale, color, placement, and finish so the graphic fits the vehicle instead of looking like an afterthought.
Whether you are dressing up a weekend cruiser, adding attitude to a work truck, building a race car, or matching graphics across a fleet of toys, the right decal starts with a few practical decisions. Here is how to build flame graphics that look sharp on day one and keep their presence after real miles, weather, washing, and sun.
What a Custom Flame Decal Kit Should Include
A decal kit is more useful than a single flame sticker because it is designed as a coordinated set. It can include matching left and right side graphics, smaller accent flames, hood pieces, fender details, tailgate graphics, or a windshield element that carries the same color treatment. The goal is visual balance from every angle.
For many vehicles, a mirrored pair is the starting point. The driver-side and passenger-side flames should flow in the correct direction and follow the vehicle’s shape. On a car or truck, that often means flames that begin near the front fender and stretch back across the doors. On a motorcycle, a shorter design may trace the tank or fairing. On a boat, a longer, lower flame line can work well along the hull.
A custom kit also lets you control the finish. Gloss vinyl gives flames a bright, painted appearance. Matte vinyl creates a more understated performance look, especially on dark paint. Metallic colors can add depth in sunlight, while a printed flame design allows for detailed color transitions, highlights, and layered effects that are difficult to achieve with a single solid color.
Start With the Vehicle, Not the Artwork
The best flame design is shaped by the available panel space. Before choosing a style, look at the vehicle from the side and identify where the graphic can start and stop without running into body breaks, moldings, vents, badges, door handles, fuel doors, or trim.
A full-size pickup has room for a long flame that begins at the front wheel opening and sweeps toward the rear door or bed. A compact car may look better with a tighter flame cluster on the front quarter panel. ATVs and side-by-sides often need segmented pieces because their plastic panels have sharp angles and smaller flat surfaces. For boats, registration numbers and required markings need their own clear space, so flame graphics should be planned around them instead of competing with them.
Measure the usable area, not just the overall vehicle length. A door may be 45 inches wide, but the realistic graphic area could be closer to 34 inches after accounting for handles, lower cladding, and panel curves. Measure height as well. A flame that is proportioned correctly in a design preview can still look oversized if it climbs too far toward a window line.
When in doubt, use a smaller kit on a highly contoured surface and a larger kit on a broad, flat panel. A clean graphic with enough breathing room usually looks more professional than a design forced into every open inch of paint.
Match the Flame Style to the Build
Traditional hot rod flames are smooth, rounded, and tapered. They suit classic cars, custom trucks, street rods, and motorcycles with vintage styling. Tribal flames use sharper points and more aggressive shapes, making them a natural fit for sport bikes, performance cars, side-by-sides, and modern truck builds.
Realistic flames use printed blends of yellow, orange, red, and black to mimic fire. They create maximum visual impact, but they need enough size for the details to read clearly. On small panels, a simple two-color or three-color flame often has a cleaner result. Ghost flames are another strong option for customers who want a custom look without a loud contrast. A dark gloss-on-matte black flame, or a subtle silver flame on white paint, shows itself as the light changes.
There is no universal best choice. Bright red and yellow flames can be the right call for a show vehicle or race build. Black, charcoal, metallic gray, or color-matched flames may make more sense for a business vehicle that needs personality while keeping its primary lettering easy to read.
Color Choices That Work in Real Conditions
Contrast matters more than complexity. A black flame graphic on a black truck can look excellent in direct sun, but it may disappear in shade. A white or silver outline can give the design definition without changing the overall dark appearance. On white paint, black, red, blue, and metallic colors usually provide immediate separation. On red paint, yellow, black, silver, and white are dependable choices.
If the vehicle already has stripes, racing numbers, logos, or commercial lettering, treat those elements as part of the color plan. A flame kit does not have to match every existing color exactly, but it should not introduce a competing palette. For example, a black truck with red race numbers can use black-to-red flames or a red flame with a thin white keyline. That connects the graphics rather than making every panel look unrelated.
Printed flames offer more color range, but cut vinyl designs can deliver a crisp, high-contrast finish with fewer variables. If you are ordering graphics for several vehicles, solid-color vinyl can also make it easier to keep the look consistent across trucks, trailers, equipment, or team vehicles.
Choose Vinyl for the Way You Use the Vehicle
Vehicle graphics spend their lives outside. Sun exposure, rain, road grit, wash chemicals, fuel splashes, and changing temperatures all affect performance. Quality outdoor vinyl is made for that job, but the surface and installation conditions still matter.
Smooth painted metal, glass, and properly prepared hard plastic are the easiest surfaces for decal application. Fresh paint needs adequate curing time before graphics are applied. Wax, ceramic coatings, greasy tire shine overspray, and road film can prevent adhesive from bonding correctly. A clean surface is not simply one that looks clean. It needs to be free of residue.
Complex curves require more care. Deep recesses, rivets, textured plastics, rubber trim, and sharp compound curves can shorten the life of a graphic or make installation more difficult. A flame design can often be adjusted into separate pieces that follow those areas more naturally. That is usually smarter than stretching one large decal across an awkward contour.
For race vehicles and off-road machines, consider where debris strikes first. Leading edges near wheel openings and lower rocker panels take more abuse than a high door panel. You may choose a slightly higher placement, a shorter flame tip, or a design that avoids the highest-impact zones.
Placement Makes the Design Look Factory-Built
Use body lines as guides. Flames that start near a headlight, wheel opening, or front fender crease tend to look grounded in the vehicle’s shape. The points should flow rearward with the visual direction of travel. On a truck, keep the flame height consistent as it moves from the front fender into the door area unless the body line clearly supports a rise or drop.
Before application, position the pieces with low-tack tape and step back several times. Check the graphic from both sides, from the front corner, and from normal standing distance. It is easy to focus on a single decal section and miss that one side sits an inch higher than the other.
Avoid placing decorative flames where they interfere with required information. Commercial vehicles still need readable USDOT numbers, company names, and other required lettering. Boats need registration numbers placed according to applicable rules. A strong graphic package leaves those functional details clear and legible.
Build a Kit That Is Easy to Order and Apply
The online design process should make customization practical, not complicated. Start by selecting a flame style that suits the vehicle, then choose your colors, dimensions, and quantity. If you need matching graphics for both sides, confirm that the artwork is mirrored where appropriate. If you are adding a name, race number, business logo, or custom text, consider it as part of the same layout before ordering.
For first-time installers, smaller sections are often easier to manage than one oversized panel. Large decals can create a dramatic look, but they demand more careful alignment and handling. A multi-piece kit gives you more placement flexibility and makes it easier to work around contours.
Apply graphics in a clean, dry area with moderate temperatures. Take your time on the first piece, because it becomes the reference for the opposite side. Once the decal is down, use firm, even pressure to secure it, especially along thin flame tips and edges.
At eDecals.com, you can build vehicle graphics around the dimensions, colors, and layout your project actually needs. The result is not just a flame sticker. It is a graphic package designed to belong on your vehicle.
A good flame kit should still look right after the initial excitement of installation wears off. Measure carefully, choose contrast that fits the paint, respect the vehicle’s body lines, and give the graphic room to run. That is how a custom look earns a second glance at the gas station, the track, the ramp, or the jobsite.