
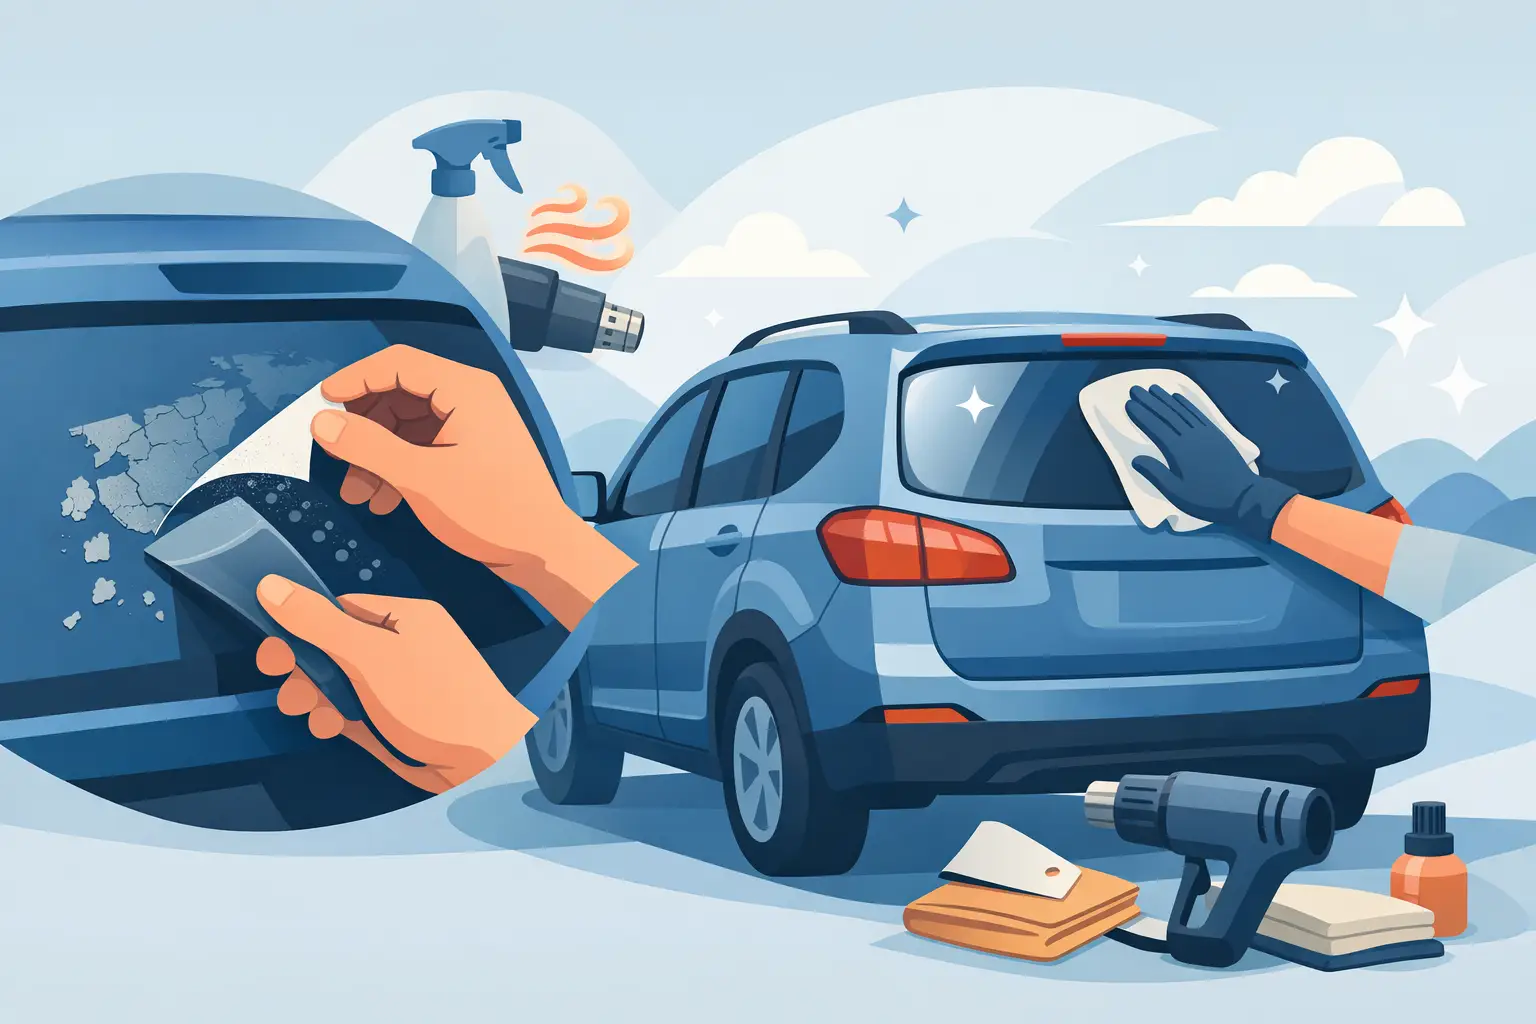
A faded company logo on a truck door, old race numbers on a side window, cracked boat lettering, or peeling pinstriping on an RV all create the same problem – the graphic is done, but the adhesive is not. If you are figuring out how to remove old vehicle decals, the goal is simple: get the vinyl off cleanly without turning a cosmetic update into a paint repair bill.
The good news is that most old decals can be removed with basic tools, the right amount of heat, and some patience. The part that trips people up is rushing it. Pull too hard, use the wrong solvent, or overheat the surface, and you can trade one problem for three more.
How to remove old vehicle decals without damage
The right removal method depends on three things: the age of the decal, the surface underneath it, and the weather. A newer vinyl decal on glass usually comes off easier than a sun-baked graphic on painted metal or fiberglass. Old lettering that has been on a work truck for years may crack into tiny pieces instead of peeling in one pass. That is normal.
Start in a shaded area with a cool surface. Direct sun can make adhesive unpredictable, especially on dark paint. Wash the area first so you are not dragging dirt across the panel while you work. Grit trapped under a scraper or towel is an easy way to create scratches.
For most jobs, you only need a few items: a hair dryer or heat gun on a low setting, a plastic scraper or plastic razor blade, microfiber towels, adhesive remover safe for automotive finishes, and some general-purpose car wash soap. If you are working on glass, a razor blade may be appropriate, but only on glass and only with care.
Step 1: Warm the decal, do not cook it
Heat softens both the vinyl and the adhesive. That makes the decal more likely to lift in larger sections instead of breaking apart. A hair dryer is slower but safer for beginners. A heat gun works faster, but it can also damage paint, warp plastic trim, or overheat fiberglass if you get too aggressive.
Warm a small section first, usually one corner or edge. Keep the heat moving and hold it several inches away from the surface. You want the decal warm to the touch, not scorching hot. If the panel feels too hot to comfortably touch, back off.
Step 2: Lift an edge and peel at a low angle
Use your fingernail or a plastic scraper to lift one corner. Once you have an edge, pull slowly and keep the angle low, almost parallel to the vehicle surface. That reduces the chance of pulling paint upward or snapping the vinyl into pieces.
If the decal resists, stop and add more heat. This is where patience pays off. The cleanest removals usually happen in stages: heat, peel, reheat, peel again. On older decals, you may only remove a small amount at a time, especially if the film has become brittle.
Step 3: Deal with leftover adhesive separately
Even if the vinyl comes off well, the adhesive often stays behind in patches. That is not a failure. It is just the second half of the job. Apply an automotive-safe adhesive remover to a microfiber towel or directly to the residue if the product directions allow it. Let it dwell for a short time so it can break down the glue.
Wipe gently, then repeat as needed. Stubborn spots may need a plastic scraper after the remover has softened them. Avoid metal tools on painted surfaces. They may seem faster, but one slip can leave a mark that lasts longer than the decal ever did.
Best tools for old decal removal
There is a big difference between using the right tool and using whatever is in the garage. Vehicle surfaces vary, and so does the risk.
A hair dryer is the safest heat source for occasional users. A variable-temperature heat gun is useful if you remove decals often or work on larger graphics, but low heat is still the smart setting. Plastic razor blades are excellent for painted panels, bumpers, and fiberglass because they can lift softened material without cutting into the surface.
Adhesive remover matters too. Some products are made specifically for automotive paint, clear coat, gel coat, and vinyl residue. That is what you want. Strong shop solvents can stain trim, dull fresh paint, or haze plastic lenses. If you are unsure, test in a small hidden area first.
An eraser wheel is another option, especially for old commercial lettering and stubborn striping. It mounts to a drill and mechanically rubs away vinyl and adhesive. Used correctly, it can save a lot of time. Used carelessly, it can overheat a panel or leave swirl marks. It is usually better for experienced users or larger jobs where hand removal would take too long.
Painted metal, glass, plastic, and fiberglass all behave differently
If you want to know how to remove old vehicle decals the right way, surface type matters as much as decal age.
On painted metal, your biggest concern is preserving the finish. Factory paint generally handles careful decal removal better than older repaint work. Repainted panels can be less stable, especially if prep or curing was poor. If you suspect the vehicle has aftermarket paint, use less heat, pull more slowly, and do a small test area first.
On glass, removal is usually easier. Heat still helps, but glass can tolerate scraping better than paint. This is one place where a razor blade may be acceptable, assuming the glass is plain and not coated with a delicate tint film. Never use a razor on tinted film unless you are prepared to damage it.
Plastic parts and trim need extra caution because they can distort from heat. Fiberglass and gel coat, common on boats and some RV panels, also deserve a measured approach. They can hold onto old adhesive stubbornly, and strong chemicals may discolor the surface. Slower is safer.
What makes old decals so hard to remove
Time, weather, and material quality all change how vinyl behaves. Sun exposure dries the film out. Cheap or very old decals can become brittle and flake off in tiny chips. Heavier-duty cast vinyl may lift more cleanly, while economy films can separate from their adhesive and leave a mess behind.
You may also notice a shadow after the decal is gone. That does not always mean damage. Sometimes the surrounding paint faded while the paint under the decal stayed protected. On white commercial vans and work trucks, that difference can be mild. On bright colors, it can be obvious. Cleaning and polishing may reduce the contrast, but if the paint around the decal has aged significantly, some ghosting may remain.
Common mistakes that cause damage
The fastest way to ruin a simple decal removal job is to force it. Pulling cold vinyl almost always creates more work. Overheating the panel is the other common mistake, especially with heat guns.
Using metal blades on paint is risky, and so is grabbing a random solvent without checking surface compatibility. Gasoline, lacquer thinner, and harsh reducers may cut adhesive, but they can also attack clear coat, stain plastics, and create a bigger refinishing problem than the decal ever did.
Pressure washing can help loosen already-failing graphics, but it should not be your main removal method. Too much pressure at the wrong angle can lift paint edges, damage seals, or shred brittle vinyl into smaller pieces that are harder to clean up.
When to handle it yourself and when to call a pro
Small door lettering, windshield banners, race numbers, and simple vinyl decals are often very manageable as a DIY project. If you have time, controlled heat, and the right adhesive remover, you can usually get solid results.
Larger wrap sections, heavily cracked fleet graphics, reflective commercial films, and decals on sensitive or repainted surfaces are where the math changes. A professional installer or graphics shop may finish the job faster and with less risk, especially if the vehicle is high-value or business-critical.
That matters even more if you are removing old branding to replace it with fresh lettering right away. A clean surface is the foundation for a clean install. Any leftover adhesive, contamination, or damaged clear coat can compromise the next decal.
Once the old graphics are off, wash the panel again and inspect it in good light. If the surface feels rough, there is probably still residue left. If it feels clean and smooth, you are ready for polish, protection, or new graphics. For businesses, racers, and owners refreshing a vehicle’s look, that last step is where the vehicle starts working for you again.
A clean removal is not flashy, but it sets up everything that comes next – better appearance, better adhesion, and a better finished result when it is time to design the next set of graphics.