
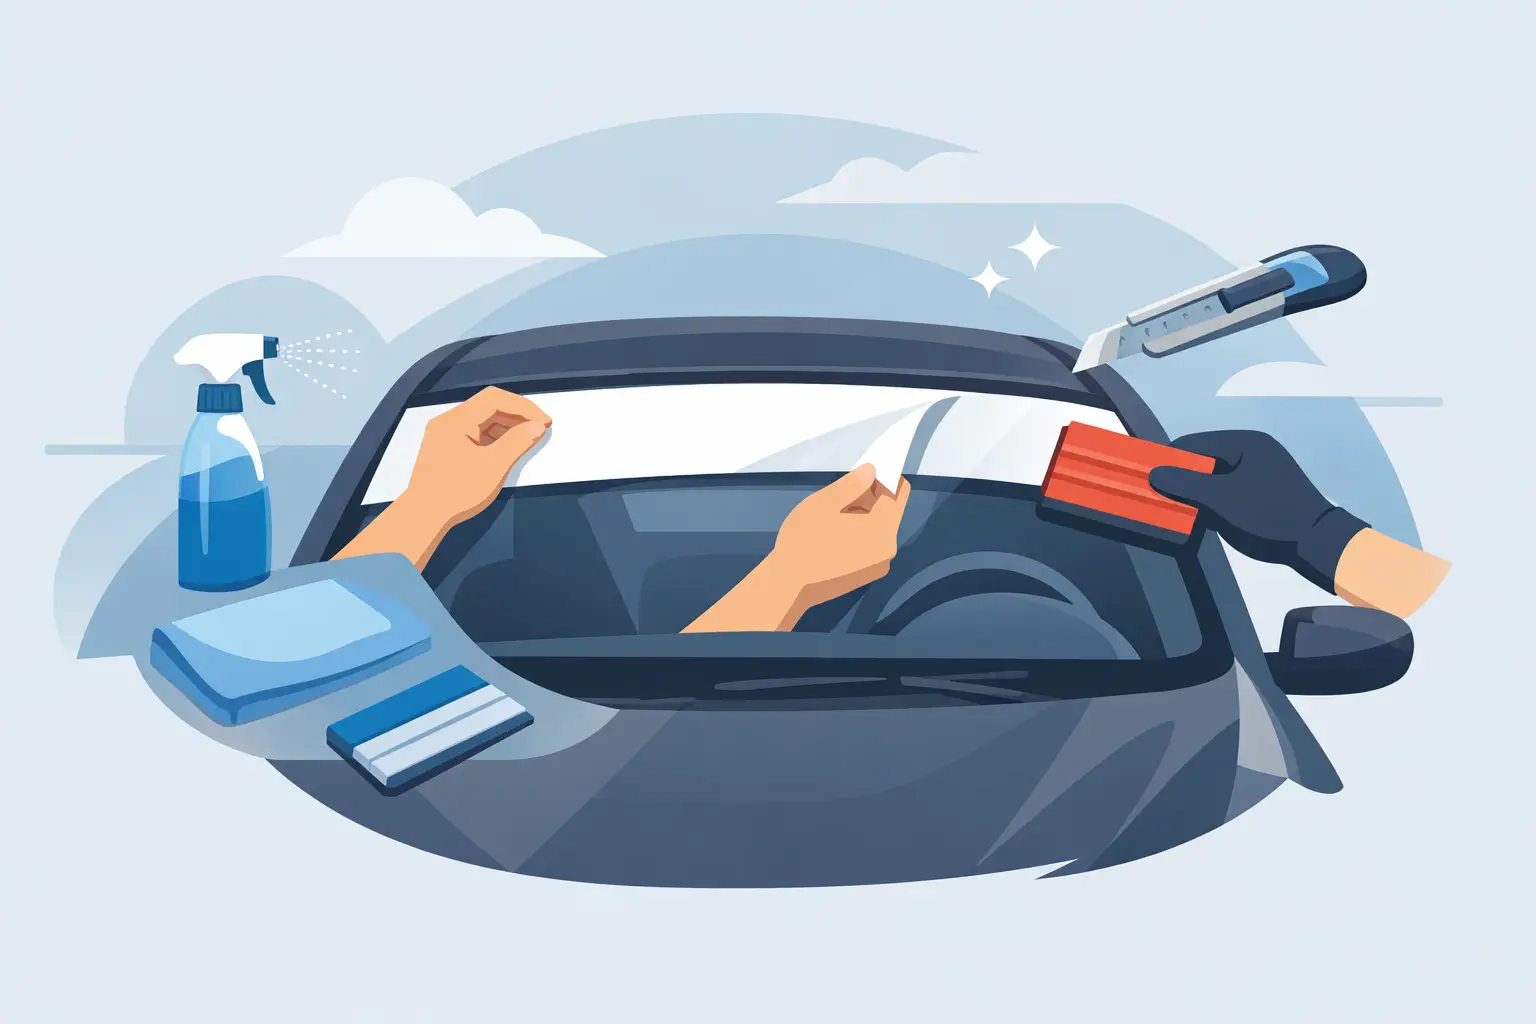
A windshield banner sits in the most visible part of your vehicle, so a crooked baseline, trapped dust, or wrinkled corner shows immediately. Learning how to apply windshield banner vinyl the right way gives your truck, car, race vehicle, or weekend build a sharp custom look without paying for a redo.
The job is straightforward when the glass is clean, the banner is centered before the backing comes off, and you work from the middle outward. Rushing any one of those steps is where most installation problems start.
What You Need Before Applying a Windshield Banner
Have your banner, a felt-edge squeegee or plastic application card, masking tape, a clean microfiber towel, glass cleaner, and a measuring tape ready before you start. A small utility knife can help trim transfer tape, but it should not be needed near the vinyl itself.
Choose a clean, dry work area out of direct wind. Ideally, install the banner when the glass and air temperature are between about 60 and 80 degrees Fahrenheit. Cold vinyl can feel stiff and resist conforming to the windshield curve. Very hot glass can make adhesive grab too fast, leaving less room to correct placement.
For most cut-vinyl windshield banners, use a dry application. Dry installation gives you better adhesive contact and a cleaner result on simple lettering. A wet method can be useful for large printed graphics, but it may slow adhesion and is not the best default for smaller lettering or detailed cut vinyl.
Check Local Windshield Rules First
Before deciding exactly where your banner will sit, check your state and local windshield obstruction rules. Restrictions vary. Many areas limit decals to the upper portion of the windshield, while others have rules about tint bands, inspection stickers, cameras, and driver visibility.
Keep the banner high enough that it does not interfere with your view, forward-facing cameras, rain sensors, or an existing factory tint strip. A clean install should look intentional, but it also needs to be practical every time you drive.
How to Apply a Windshield Banner Step by Step
Clean the glass beyond what looks clean
Start by cleaning the outside of the windshield with a quality automotive glass cleaner and a lint-free microfiber towel. Avoid products that leave wax, silicone, or water-repellent residue behind. Those residues can weaken vinyl adhesion even when the glass looks spotless.
Pay extra attention to the upper edge of the windshield, where dust collects around molding and roof seams. Wipe the area dry, then make one final pass with a fresh section of microfiber. Do not touch the cleaned area with your fingers afterward. Skin oils are enough to create a small adhesion problem at the edge of a letter.
Find the center before you remove anything
Measure the width of the windshield near the location where the banner will be installed. Mark the center lightly with a small piece of masking tape on the outside of the glass. Then find the center of the banner and mark the transfer tape at that point.
Hold the banner against the windshield with the backing still attached. Match the two center marks and step back several feet. This is the time to confirm the height, spacing, and visual balance. Do not rely only on the roofline or windshield molding as a reference, since vehicle body lines are not always perfectly level.
If the banner is wide, use a tape hinge. Run a straight strip of masking tape vertically through the center of the transfer tape and onto the windshield. The tape holds placement while allowing you to install one half at a time. For a shorter banner, a horizontal hinge across the top can also work, but a center hinge gives more control on curved windshields.
Apply one half with firm, overlapping strokes
Lift one side of the banner away from the glass, keeping the center tape hinge in place. Peel the backing paper away from the transfer tape at a shallow angle. Do not pull the vinyl off the backing with a hard, upward tug. If a small piece stays on the backing, lay the transfer tape back down and squeegee that section again.
Hold the loose half away from the windshield with slight tension. Starting at the center hinge, use the squeegee to press the vinyl onto the glass in overlapping strokes that move outward toward the edge. A firm, controlled stroke is better than a fast one. Your goal is to push air out as you go, not trap it under the lettering.
Once the first side is down, remove the center hinge tape. Repeat the same process on the other half. Keep checking that the transfer tape stays flat. If it starts to wrinkle, stop and reposition your hand before that wrinkle reaches the vinyl.
Remove the transfer tape slowly
After the entire banner has been squeegeed, go over it once more with firm pressure, especially around thin letters, sharp corners, and small interior cuts. Then peel the transfer tape back slowly at a 180-degree angle, almost flat against the windshield.
Do not pull the transfer tape straight out from the glass. A low, slow peel keeps the vinyl in place. If a letter or edge lifts, put the transfer tape back down, squeegee the area again, and wait a minute before continuing.
For detailed lettering, it helps to peel just a few inches at a time. Patience here prevents the most frustrating mistake: lifting a small part of the design after the main installation is already finished.
Deal With Bubbles, Edges, and Curved Glass
A small bubble is usually fixable. If it is near an edge, work it toward the edge with the squeegee wrapped in a microfiber towel. If a tiny air pocket remains in the center after the vinyl has had time to set, use a very fine pin to make a small release point at the edge of the bubble, then press the air out gently.
Do not puncture the vinyl repeatedly or drag a blade across the surface. That can turn a minor bubble into a visible damaged spot. Small bubbles often diminish after a day or two as the adhesive settles, particularly in warmer conditions.
Windshields are curved, and that curve matters most with large, one-piece banners. If your design includes separate letters or multiple lines, work carefully around the center and give each section time to lay flat. For heavily curved glass, a little warm air from a heat gun on its lowest setting can help the transfer tape release, but use restraint. Too much heat can distort vinyl, weaken adhesive, or crack cold glass.
Aftercare That Helps the Banner Last
Let the banner cure for at least 24 hours before running it through a car wash or aggressively cleaning the windshield. During that time, avoid picking at edges or pressing on the lettering.
After curing, hand washing is the safest option. If you use a pressure washer, keep the spray back from the vinyl and avoid aiming directly at letter edges. Use normal glass cleaner and a soft towel rather than abrasive pads. Properly applied outdoor-grade vinyl can handle real driving conditions, but its lifespan depends on sun exposure, cleaning habits, and how well the glass was prepared.
A windshield banner should look like it belongs on the vehicle, not like it was added in a parking lot five minutes ago. Take the extra time to measure, hinge, and squeegee with purpose. When you are ready to build your own lettering, eDecals.com makes it easy to choose the size, color, font, and style that fits your ride.