
A crooked boat name stands out for all the wrong reasons. If you are figuring out how to apply boat name decals, the good news is that the job is very manageable with the right prep, a clean surface, and a little patience during placement.
Boat lettering is not hard, but it is unforgiving if you rush it. Salt, sun, wax, and curved hull surfaces all work against adhesion, so the difference between a decal that lasts and one that starts lifting at the edges usually comes down to surface prep and application technique. Get those two parts right, and your name decal can look professionally installed.
Before You Apply Boat Name Decals
Start by choosing the exact location before you touch the backing paper. On most boats, the name goes on the transom or on both hull sides near the stern, but the best placement depends on the shape of the surface, rail clearance, and how the lettering looks from the dock.
Stand back and check the viewing angle. A name that looks centered up close can appear off balance from twenty feet away. If your boat has striping, hardware, or a body line running through the area, decide whether you want the decal aligned to the boat itself or to the visual line created by those features. Those are not always the same thing.
Temperature matters more than most first-time installers expect. Vinyl likes moderate conditions. A surface that is too cold can reduce initial tack, while extreme heat makes the adhesive too aggressive and harder to reposition. A mild, dry day usually gives you the most control.
Tools That Make the Job Easier
You do not need a full sign shop setup, but a few basic tools make the process cleaner. Have masking tape, a measuring tape, a plastic squeegee or application card, a lint-free cloth, and a surface cleaner that leaves no residue. A grease-cutting cleaner can help at the start, but the final wipe should be with a residue-free cleaner suitable for vinyl application.
If your boat has old wax or polish buildup, plan extra prep time. That residue is one of the main reasons marine decals fail early. The adhesive needs direct contact with the gelcoat or painted surface, not a slick layer of product sitting on top.
Surface Prep Is Where Most Problems Start
The biggest mistake in how to apply boat name decals is treating the hull like it is clean just because it looks clean. A boat can be spotless to the eye and still have enough wax, oxidation, salt film, or cleaner residue to weaken adhesion.
Wash the area first and dry it completely. Then clean the exact decal zone again with a residue-free cleaner and a lint-free cloth. If the surface feels chalky from oxidation, polish that out before installation. Decals do not bond well to oxidized gelcoat, and even if they stick at first, the bond is only as strong as the layer underneath.
Do not apply over silicone, fresh wax, or damp surfaces. If you recently detailed the boat, that can be a problem rather than a benefit. Let the area fully dry and make sure any detailing products are fully removed in the installation zone.
How to Position the Decal Before Committing
Leave the decal on its backing with the transfer tape attached. Hold it up to the boat and use strips of masking tape to place it temporarily. This is your chance to check height, centering, and level before the adhesive touches the surface.
Measure from fixed points, not from what looks straight by eye. Use rails, edges, cleats, or the corners of the transom as your reference. On curved hulls, equal measurements at the ends of the decal often matter more than following a line that only appears level from one angle.
Once the decal is where you want it, place a long strip of masking tape along the top edge to create a hinge. This lets the graphic flip upward while staying aligned. The hinge method gives you better control than trying to place the decal freehand.
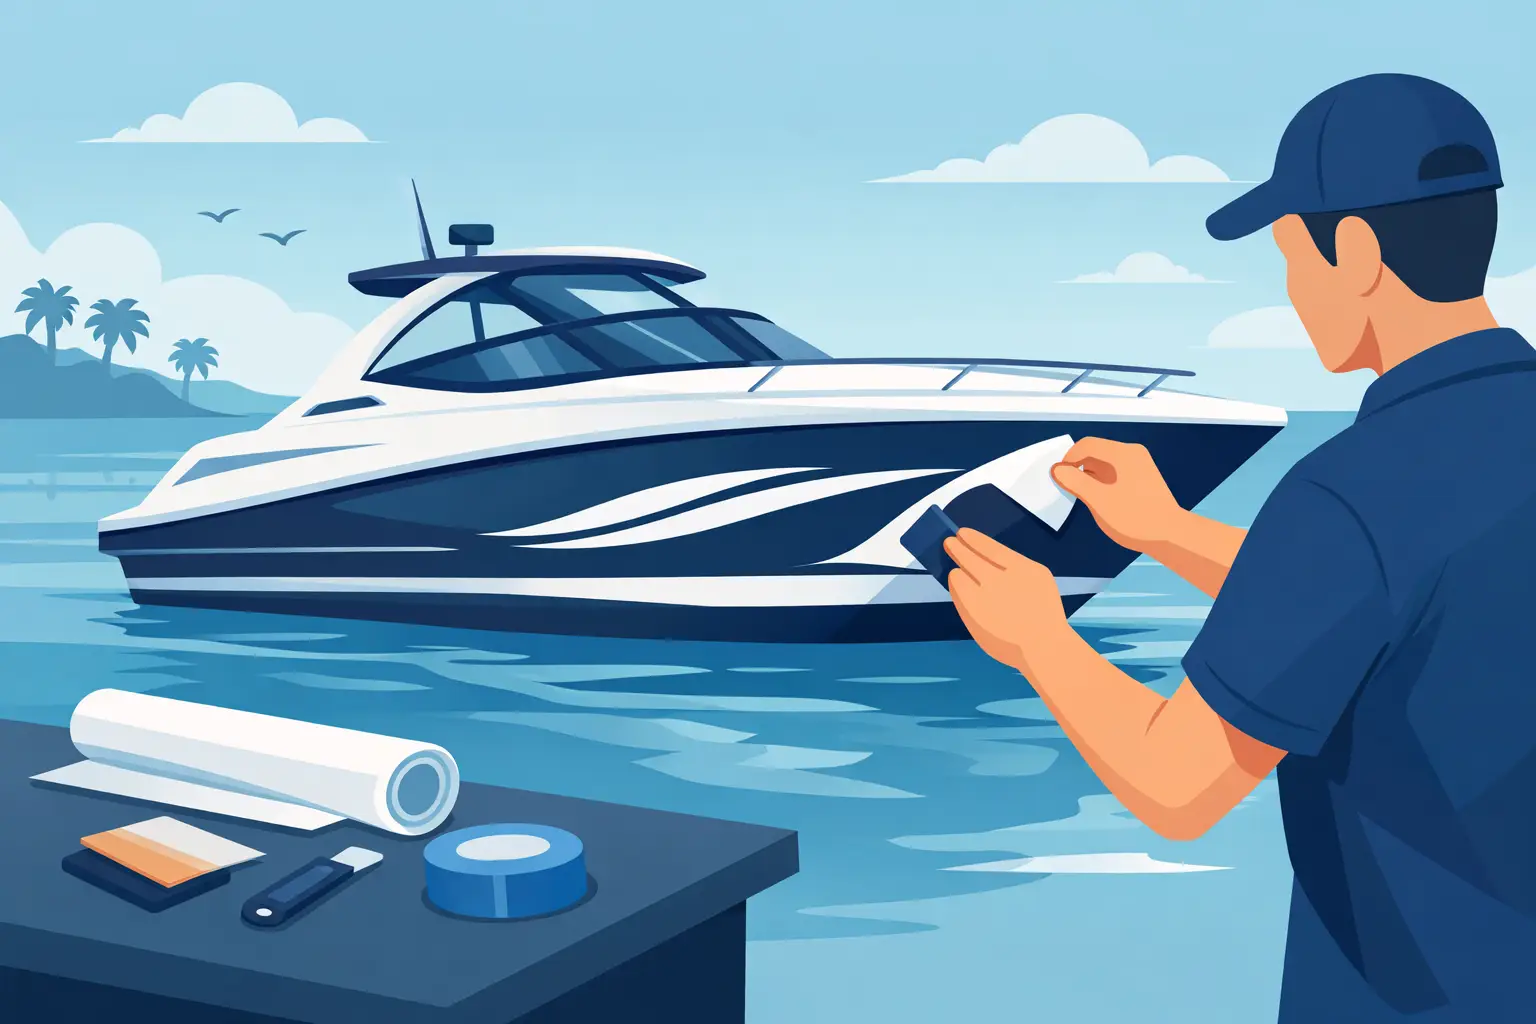
How to Apply Boat Name Decals Step by Step
With the decal taped in place at the top, flip it upward on the hinge. Slowly peel the backing paper away from the vinyl and transfer tape. If any letter wants to stay on the backing, stop and press it back down before peeling again.
Once the backing is off, do not let the adhesive side touch the boat until you are ready. Starting from the hinged top edge, lower the decal onto the surface gradually. Use your squeegee to press from the center outward in smooth, overlapping strokes. This pushes air away and helps the vinyl make even contact.
Work slowly, especially on script fonts or designs with fine details. Large block letters are more forgiving. Thin strokes, outlines, and decorative effects need steady pressure and a careful hand.
After the decal is fully squeegeed down, go over it again with firm pressure. Pay extra attention to edges and smaller parts of letters, where lifting usually starts.
Removing the Transfer Tape Without Lifting the Letters
Do not rip the transfer tape off quickly. Peel it back slowly at a sharp angle, keeping it close to the surface rather than pulling straight outward. That low angle reduces stress on the vinyl.
If a letter starts to lift with the transfer tape, stop immediately. Lay the tape back down, squeegee that area again, and give the adhesive a little more time to grab. Then try peeling again more slowly.
This part tests patience, especially with intricate boat names, shadows, or multi-piece layouts. Slow is faster than having to repair a letter that stretched or folded onto itself.
Dry Application vs. Wet Application
Most modern boat name decals are designed to be applied dry, and dry application is usually the better choice for smaller to medium-sized lettering. It gives you a faster bond and avoids trapping moisture under the vinyl.
Wet application can help with some larger graphics because it gives you a little slip for repositioning, but it also adds complexity. If you use too much fluid or the wrong mixture, adhesion can suffer and the transfer tape can become harder to remove cleanly. For straightforward boat names, dry application is usually the cleaner, more dependable method unless the decal manufacturer specifically recommends otherwise.
Curves, Rivets, and Other Real-World Boat Issues
Not every boat gives you a flat, easy panel. Some transoms have subtle curves, texture changes, or hardware close to the lettering zone. If the surface has a pronounced curve, the layout may need slight visual adjustment so the decal looks straight from normal viewing distance.
Avoid spanning sharp compound curves with standard lettering if you can. Vinyl will conform to mild curves, but aggressive contouring puts more stress on the material over time. If there is a choice between a flatter section and a more curved one, choose the flatter area.
If your boat surface has chips, heavy texture, or failing paint, fix that first. A premium decal cannot overcome a poor substrate.
Common Mistakes to Avoid
The most common mistakes are rushing the prep, eyeballing alignment, and applying in bad conditions. Wind is another issue people underestimate. Even a light breeze can grab the decal as soon as the backing is removed and fold it onto itself.
Another mistake is touching the adhesive too much with your fingers. Oils from your skin reduce tack. Handle the decal by the edges when possible.
Do not apply and then immediately wash the boat or run it hard in rough spray if you can avoid it. Give the adhesive time to set. The exact time can vary with temperature and conditions, but a little patience on day one pays off in long-term hold.
Aftercare for a Longer-Lasting Boat Name
Once the decal is installed, treat it like a finished graphic, not just a sticker. Wash it with normal boat soap and avoid aggressive scrubbing at the letter edges. If you wax around it later, be careful with buildup along the vinyl edge.
Sun, salt, and regular washdowns are part of boat life, so material quality matters. Good marine lettering should be built for outdoor exposure, but even high-quality vinyl performs better when it is applied to a properly cleaned surface and left undisturbed to cure.
If you are ordering custom lettering, make sure the size, font, and layout are settled before production. A good design tool helps you see spacing, style, and proportions before you ever get to installation day. That saves guesswork at the back of the boat and gives you a finished look that belongs there.
A clean install always starts before the decal touches the hull. Take the extra few minutes to prep, measure, and hinge it correctly, and your boat name will look sharp every time you pull into the marina. If you want professional-grade custom lettering built for marine use, eDecals.com makes it easy to design exactly what fits your boat and apply it with confidence.