
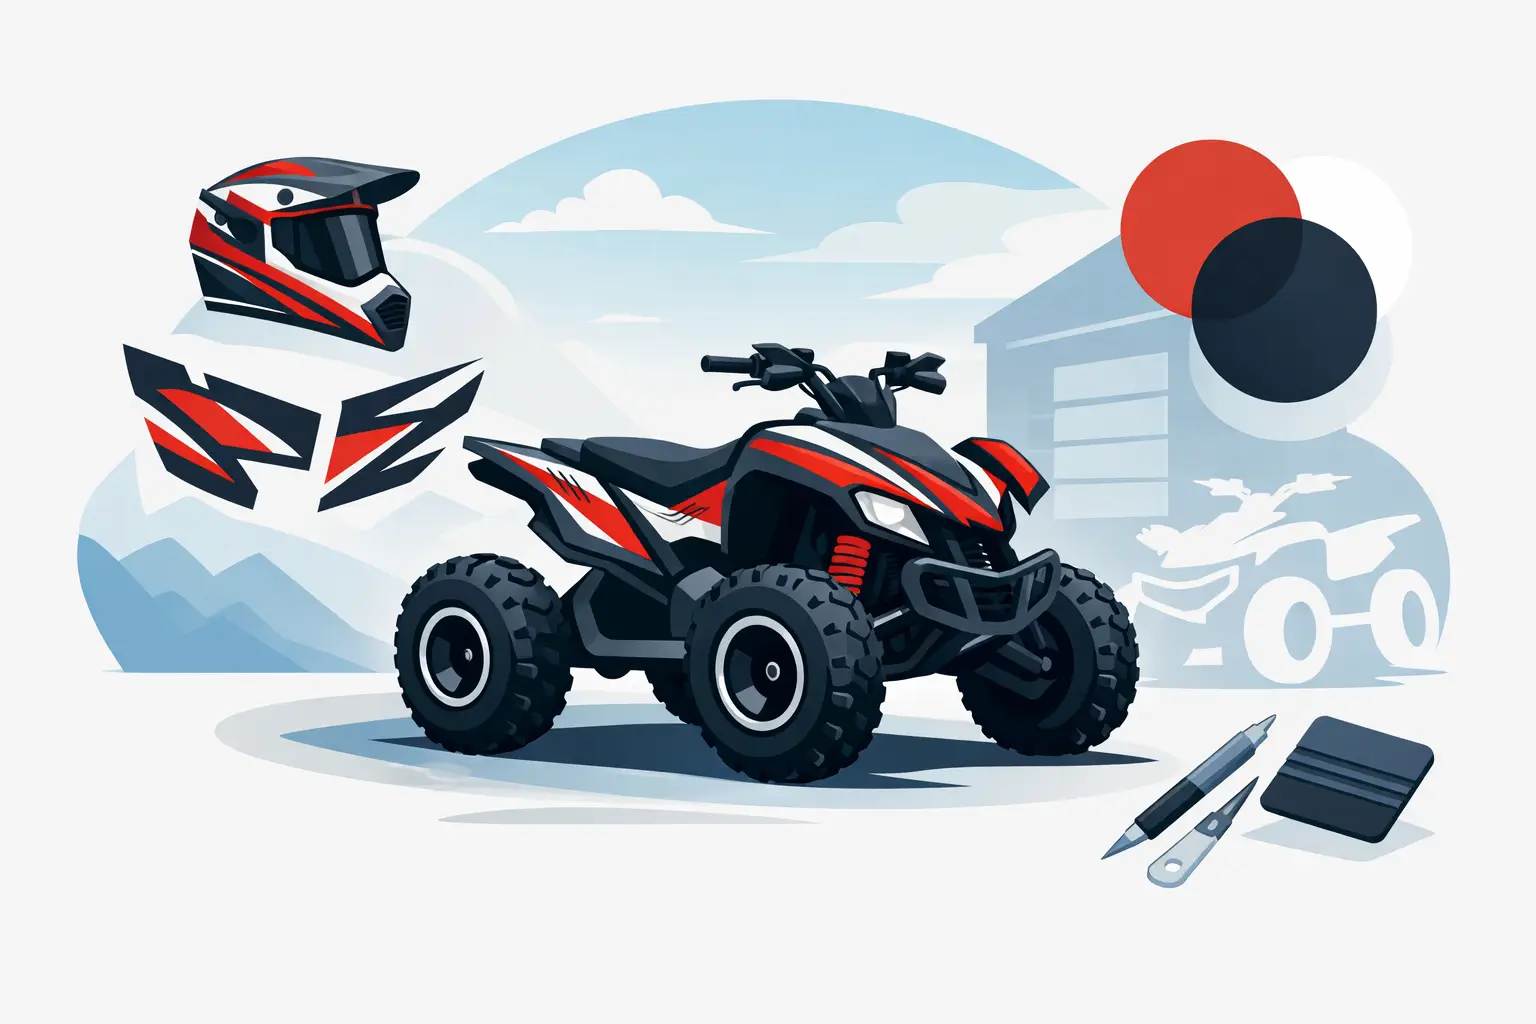
Your ATV takes more abuse in a weekend than most vehicles see in a month. Mud, brush, boot scuffs, pressure washing, trailer straps, and hard riding can make faded plastic look tired fast. Custom ATV graphics kits give your quad a sharper look while putting your number, name, colors, and riding style where they belong – on the machine.
A good graphics setup is not just about covering plastic. It should match the way you ride, fit the panels you actually have, and hold up when the trail gets rough. Whether you are building a race-ready sport quad, refreshing a utility ATV, or adding a recognizable look to a family riding machine, the right choices before ordering make the finished result look intentional.
What Custom ATV Graphics Kits Can Do for Your Quad
A custom kit lets you move beyond the factory color scheme. You can build around race numbers, a rider name, a sponsor-style layout, a business identity, or simply a color combination that stands out at camp and on the starting line.
For racers, graphics make identification easy. A clear number plate area, high-contrast number colors, and a consistent layout help your quad look organized before it ever reaches the gate. For recreational riders, a kit can bring a used ATV back to life without replacing every plastic panel. It is one of the fastest visual upgrades you can make when the plastics are still structurally sound but the finish has lost its edge.
There is also a practical side. A visible name or number helps identify similar machines in a busy trailer lot. A branded layout can make sense for ranches, rental operations, guided rides, or businesses that use ATVs around jobsites. The design does not need to be loud to work. Sometimes a clean set of colors, custom lettering, and a few well-placed accents delivers the strongest result.
Start With Fit, Not Just the Artwork
The first question is not, “What color should it be?” It is, “What ATV am I applying it to?” ATV plastic shapes vary by make, model, year, trim, and body style. A graphic that looks great on one sport quad may not line up correctly on another machine with different fender contours, vents, tank covers, or headlight openings.
When ordering a model-specific kit, confirm the exact machine information before designing. Check the manufacturer, model name, year, and whether the ATV has replacement plastics. Aftermarket plastics can follow original shapes, but small differences in molding or panel cutouts can affect placement.
If you are creating individual decals, lettering, or number panels instead of a full kit, measure the available flat area first. A large side-panel graphic may look good in a design preview but need adjustment if a fender ridge, warning label, rack mount, or body crease runs through the space. Measure twice, then select a size that leaves a clean border around the decal.
Full Kits vs. Individual ATV Decals
A full graphics kit is the right call when you want the ATV to carry one coordinated look across major plastic panels. It creates the strongest before-and-after change and is especially useful for race builds, show machines, and full refresh projects.
Individual decals are better when you need a targeted upgrade. You may only want race numbers, a name decal, custom fender lettering, a small logo, or a windshield banner for an ATV with an added windscreen. This approach can cost less and gives you flexibility to add pieces over time. The trade-off is that separate decals require more attention to color matching and layout balance.
Build a Design That Still Looks Good in the Dirt
A graphic can look perfect on a computer screen and disappear once it is covered in trail dust. Strong contrast matters. Dark lettering on a dark background may look subtle in a preview, but it is harder to read at a distance. Bright colors, outlined text, and clear separation between layers are usually better choices for numbers and rider names.
Start with one dominant color and one or two supporting colors. Too many competing shades can make a kit look crowded, especially on smaller plastic panels. If your ATV plastics are already bright red, blue, yellow, or green, use that factory color as part of the design instead of fighting against it.
Typography matters, too. Aggressive race fonts fit some builds, but they can become difficult to read when used for long names or business information. Use a bold, simple style for anything that needs to be seen quickly. Save detailed fonts, outlines, shadows, and effects for short words, numbers, or accent pieces.
For a professional result, keep the same number color, font family, and outline treatment across every panel. A consistent layout looks purpose-built. It also makes future replacements easier if one decal gets damaged and needs to be reordered.
Personal Details Worth Adding
Customizing does not mean filling every inch of plastic. Add details that have a reason to be there: a rider name, race number, hometown, team name, social handle, sponsor logo, or business name. For youth riders, a large first name and number make a quad easy to identify while giving the machine a personal finish.
If the ATV is used for work, prioritize legibility. A company name, unit number, or equipment identifier should be large enough to read without standing next to the machine. Decorative effects can support the design, but they should not bury information that crews or customers need to see.
Choose Materials for Real Outdoor Use
ATV graphics live in a harsh environment. They need to handle sun exposure, moisture, dirt, fuel splashes, and repeated cleaning. For that reason, use outdoor-rated vinyl made for vehicle graphics rather than thin indoor sticker material.
Laminated printed graphics offer added protection for designs with multiple colors, gradients, photos, or detailed artwork. The laminate helps shield the printed surface from abrasion and fading. Cut vinyl lettering is often a strong choice for names, numbers, simple logos, and clean one-color designs. The best option depends on the look you want and how much detail the design requires.
Surface condition affects durability as much as material choice. Vinyl adheres best to clean, smooth, intact plastic. Deep gouges, chalky oxidation, peeling residue, and loose edges can prevent a graphic from bonding properly. If the plastic is badly faded or damaged, restoring or replacing it before applying new graphics may produce a better long-term result.
Apply ATV Graphics With Patience
Installation is where a sharp kit can become a professional-looking finished machine or a frustrating redo. Do not rush it. Work in a clean, dry area with moderate temperatures, away from wind and direct blazing sun.
Wash the plastic thoroughly, then remove leftover grease, wax, mud film, and adhesive residue. Let the panels dry completely. Any contaminant trapped under the decal can create lifting edges or visible bumps.
Before removing the backing, hold each piece in place and check alignment against panel edges, body lines, and nearby decals. Start from a center point or straight reference edge, then work outward with steady pressure. On curved fenders, apply gradually instead of dropping the entire decal onto the panel at once. This gives you better control and reduces wrinkles.
Small air bubbles can often be worked toward an edge during application. Do not puncture or aggressively stretch the material unless the product instructions call for it. Excess stretching may distort printed artwork and reduce edge adhesion. Once installed, give the graphics time to set before riding through water, washing the ATV, or loading it under tight straps.
Keep the Finish Looking Fresh
A graphics kit cannot stop every rock strike or boot mark, but regular care extends its usable life. Rinse off mud after rides rather than letting abrasive grit dry onto the vinyl. When pressure washing, keep the spray moving and avoid blasting directly at decal edges from close range.
Inspect edges occasionally, especially around high-contact areas such as tank covers, fenders, and panels near boots. Catching a lifted corner early gives you a better chance to clean and re-secure it before dirt gets underneath. If a section becomes damaged, replacing a single matching piece is easier when your design details are saved.
At eDecals.com, you can create personalized lettering, numbers, and custom vinyl elements that make an ATV look like your machine, not another stock quad in the lot. Start with accurate measurements, choose colors that work with your plastics, and give the installation the time it deserves. The next time your ATV rolls off the trailer, it should look ready to ride.